Rube Goldberg (a little late): Party Popping Animals

I did not see another post from our group, so I wasn’t sure if we were supposed to individually upload something for the final or as a group. My group consisted of Lola, Phil, Joe (awesome last addition), and myself… I do not have many of my own photos, but I do have a video of the entire class’ attempt at cohesiveness 😉

We didn’t have the coolest junk, but theatrics was something we weren’t short of. Being blessed with two printers (one of which was my contribution) and a fan, we were determined to make something fun. I went various dollar stores to look for cheap enhancements. I found party poppers and confetti money. The idea was for each pull/slam, it would trigger a popper. The money was supposed to shoot out of the printers after being loaded into the back. I had the “initiating printer.”

The Videola

I graduated last year with a bachelor’s degree in what is called “Film Studies,” because a majority of the movies we watched and wrote about were shot on film. I also grew up in what will be the last generation to have seen a major motion picture premiere that was originally shot and edited on film. As I re-read Murch’s book this semester I was struck by how it knit together my previous education of film with my new path as a student of design and technology. His work clearly laid out the advantages and disadvantages of both film and video; and though certain problems associated with video have been remedied by more reliable computing environments, the connection to a “kinetic feedback” with video footage has become increasingly distant. My project, the Videola, is an attempt to reclaim that connection.

I decided to focus the Videola’s function to the primary decision made by an editor: where to cut. Murch compares this task to that of a gunslinger; focusing with one’s entire body, waiting for the perfect moment to begin and end a scene.

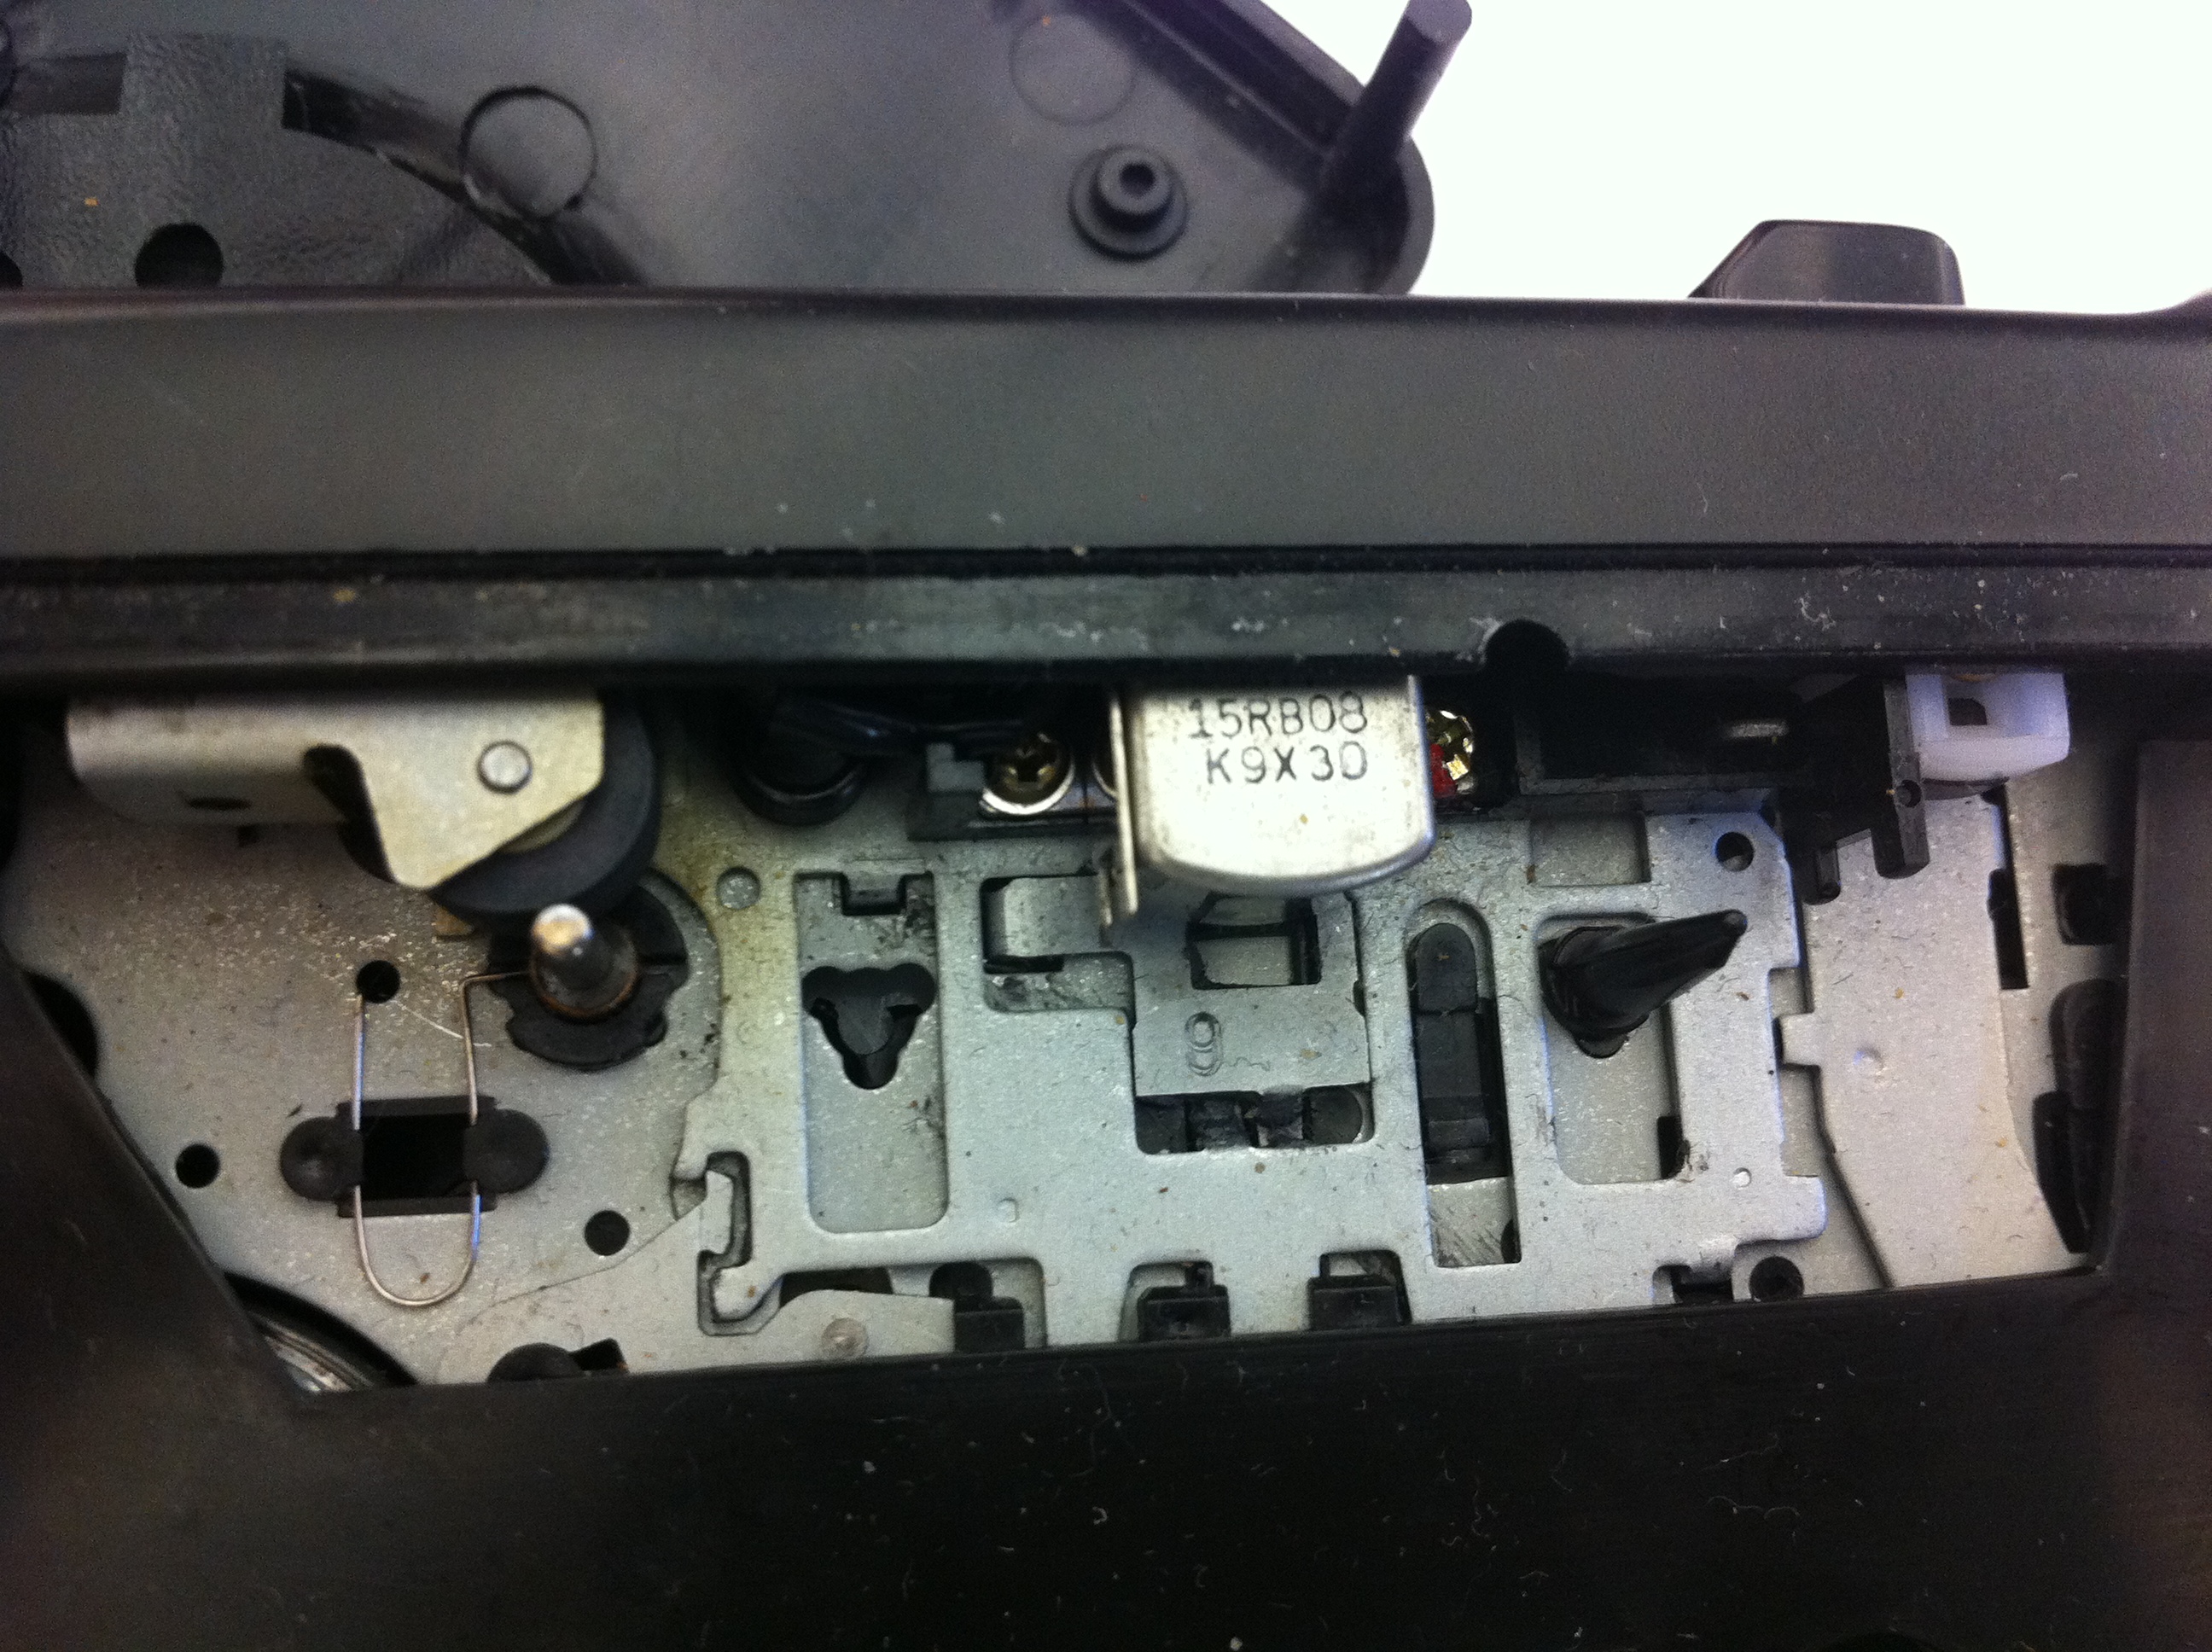
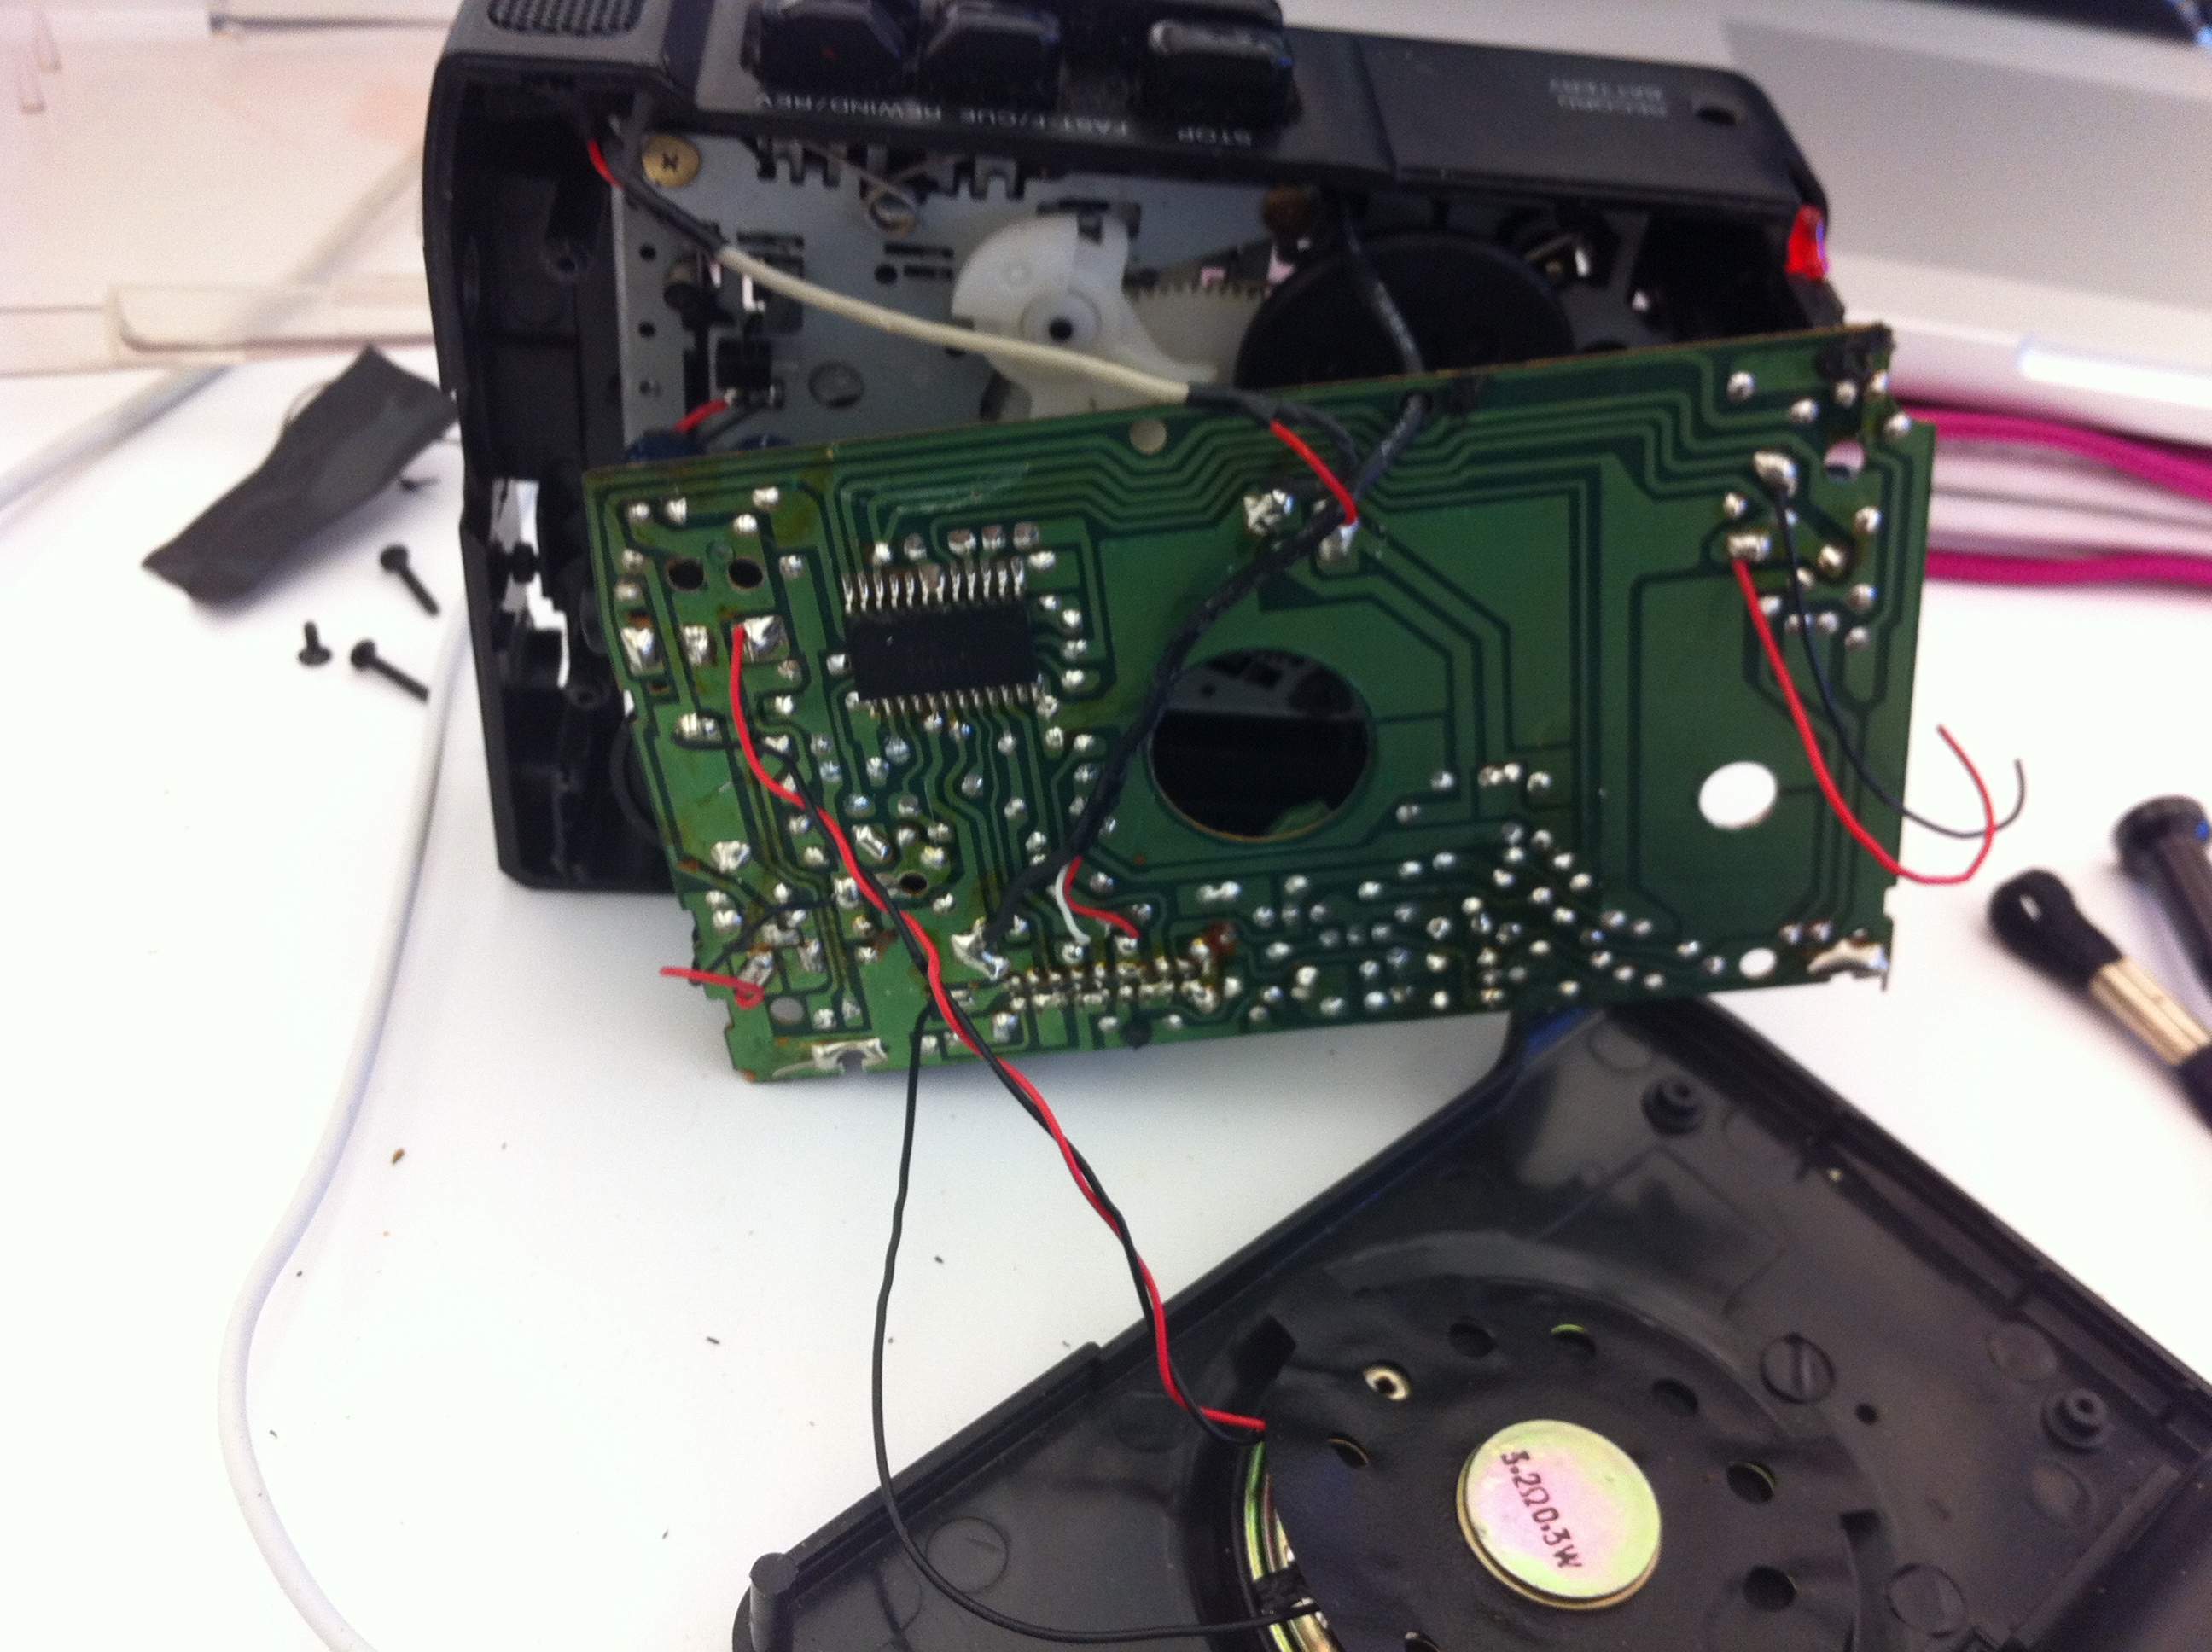
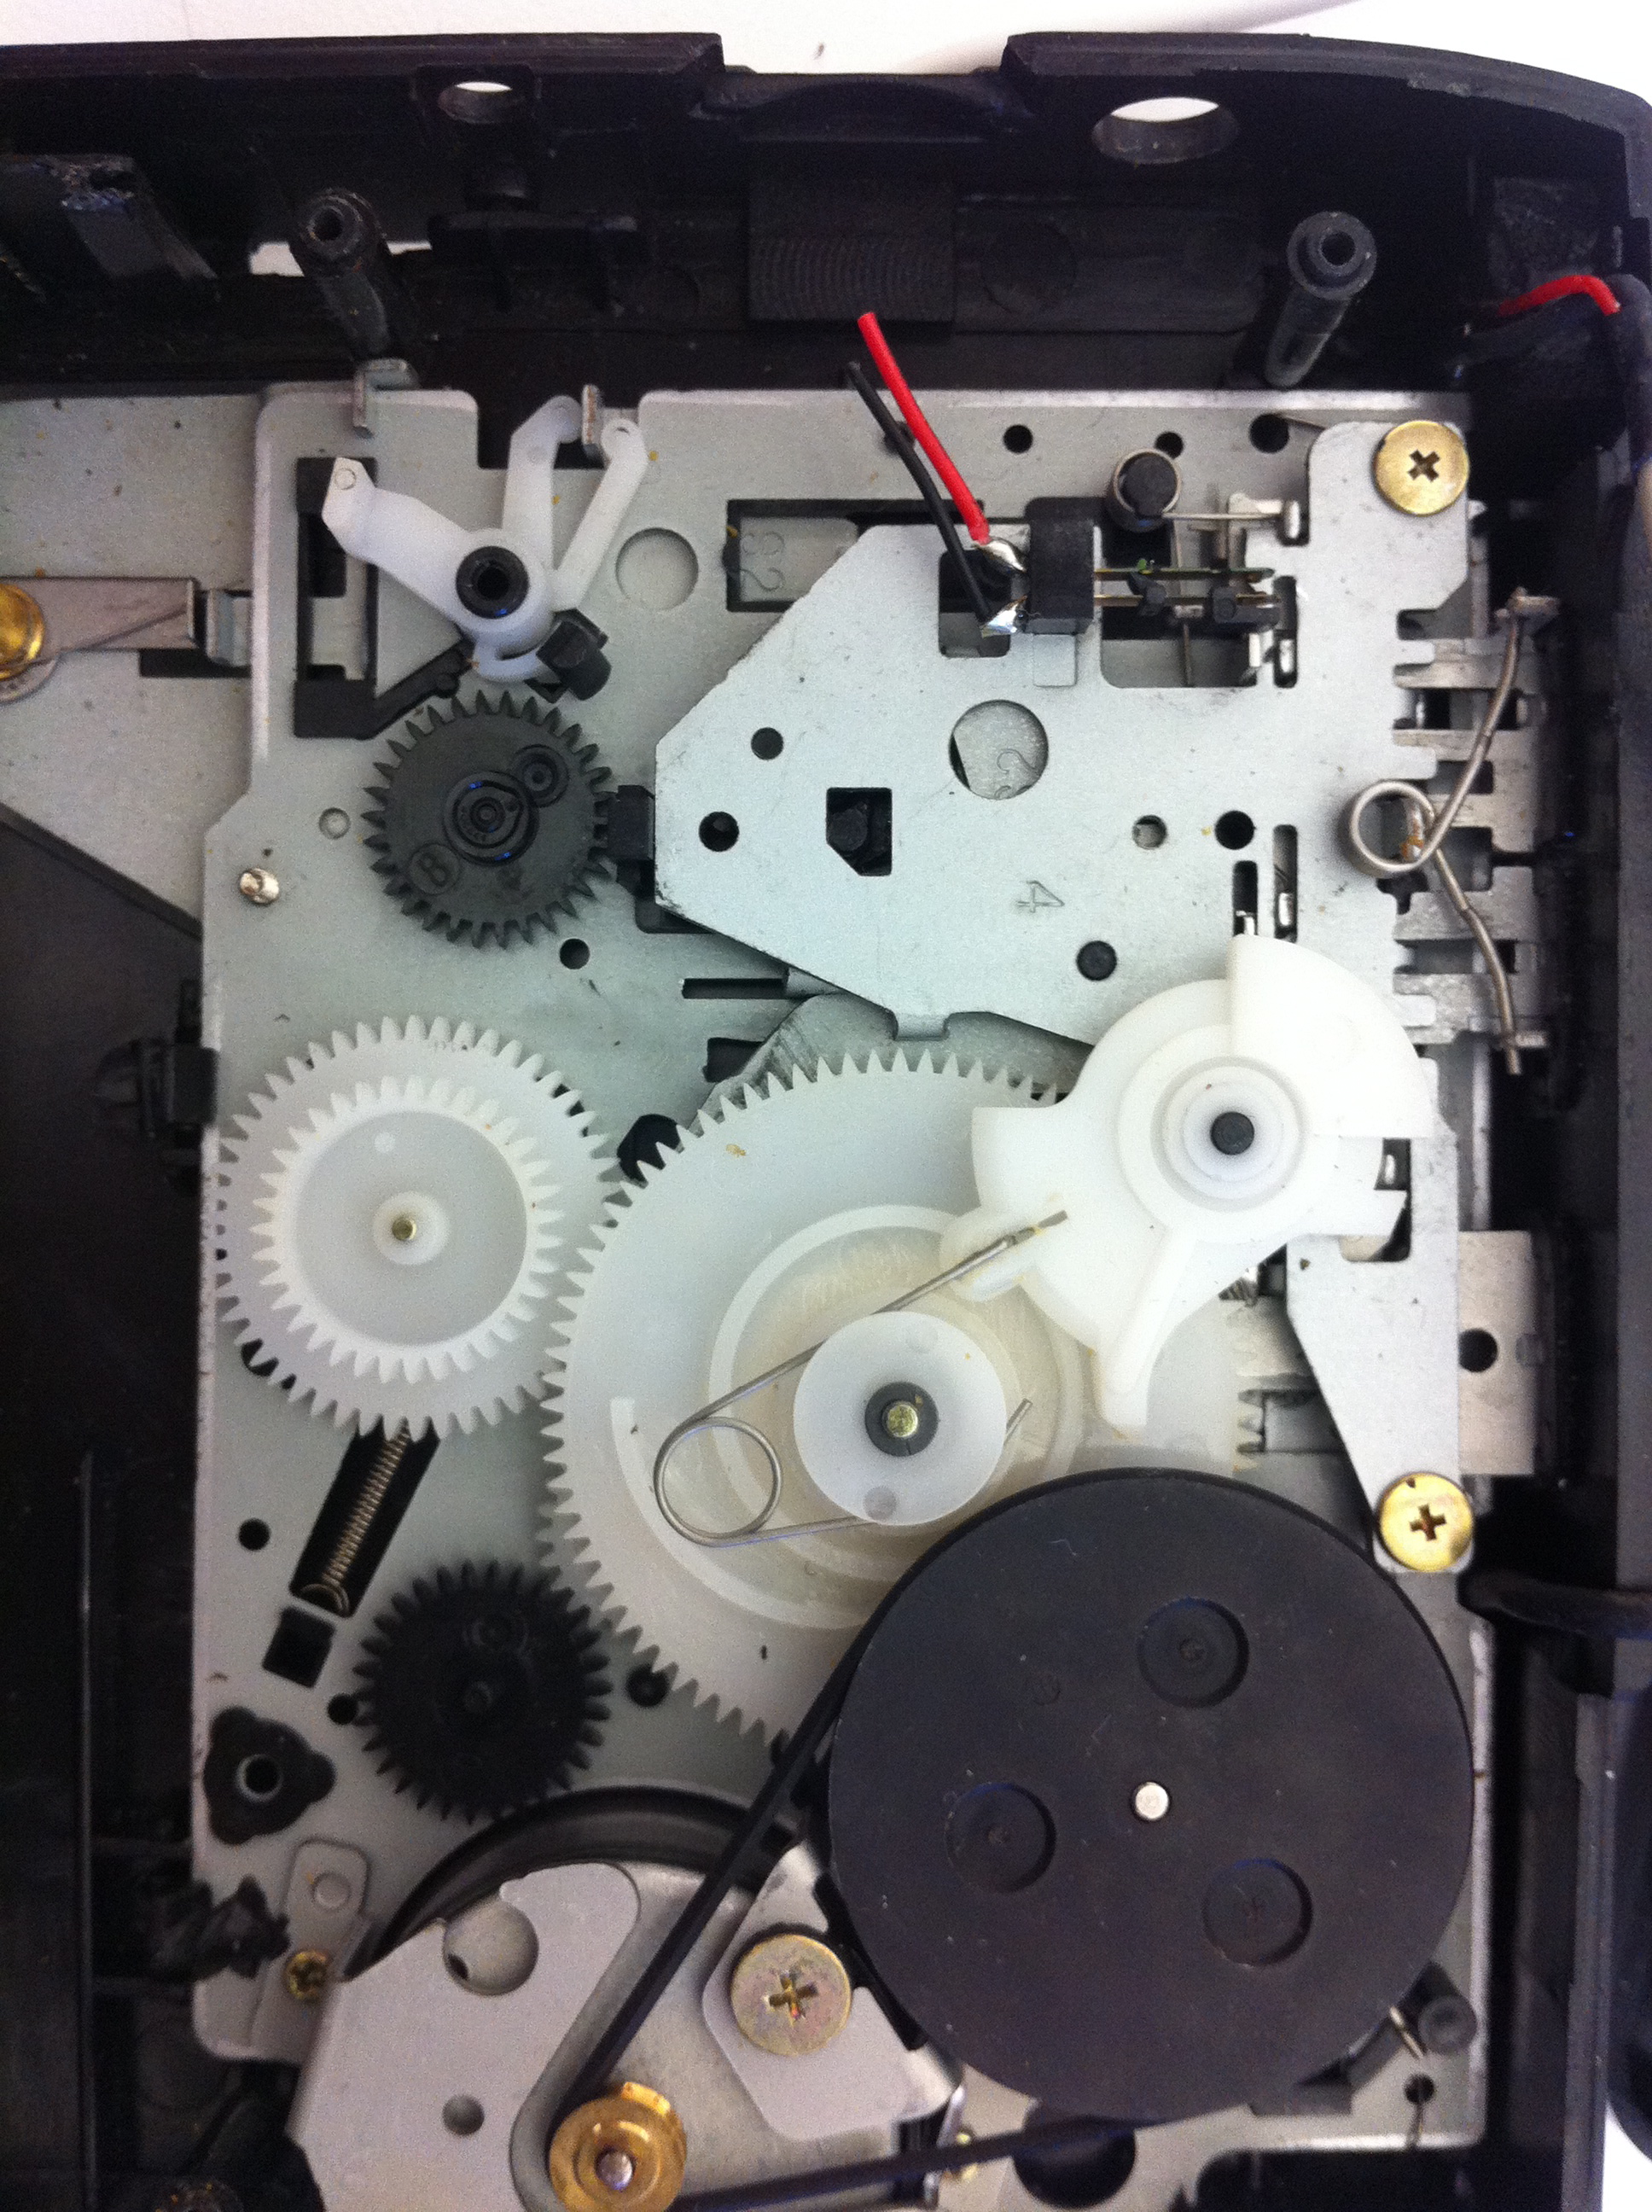
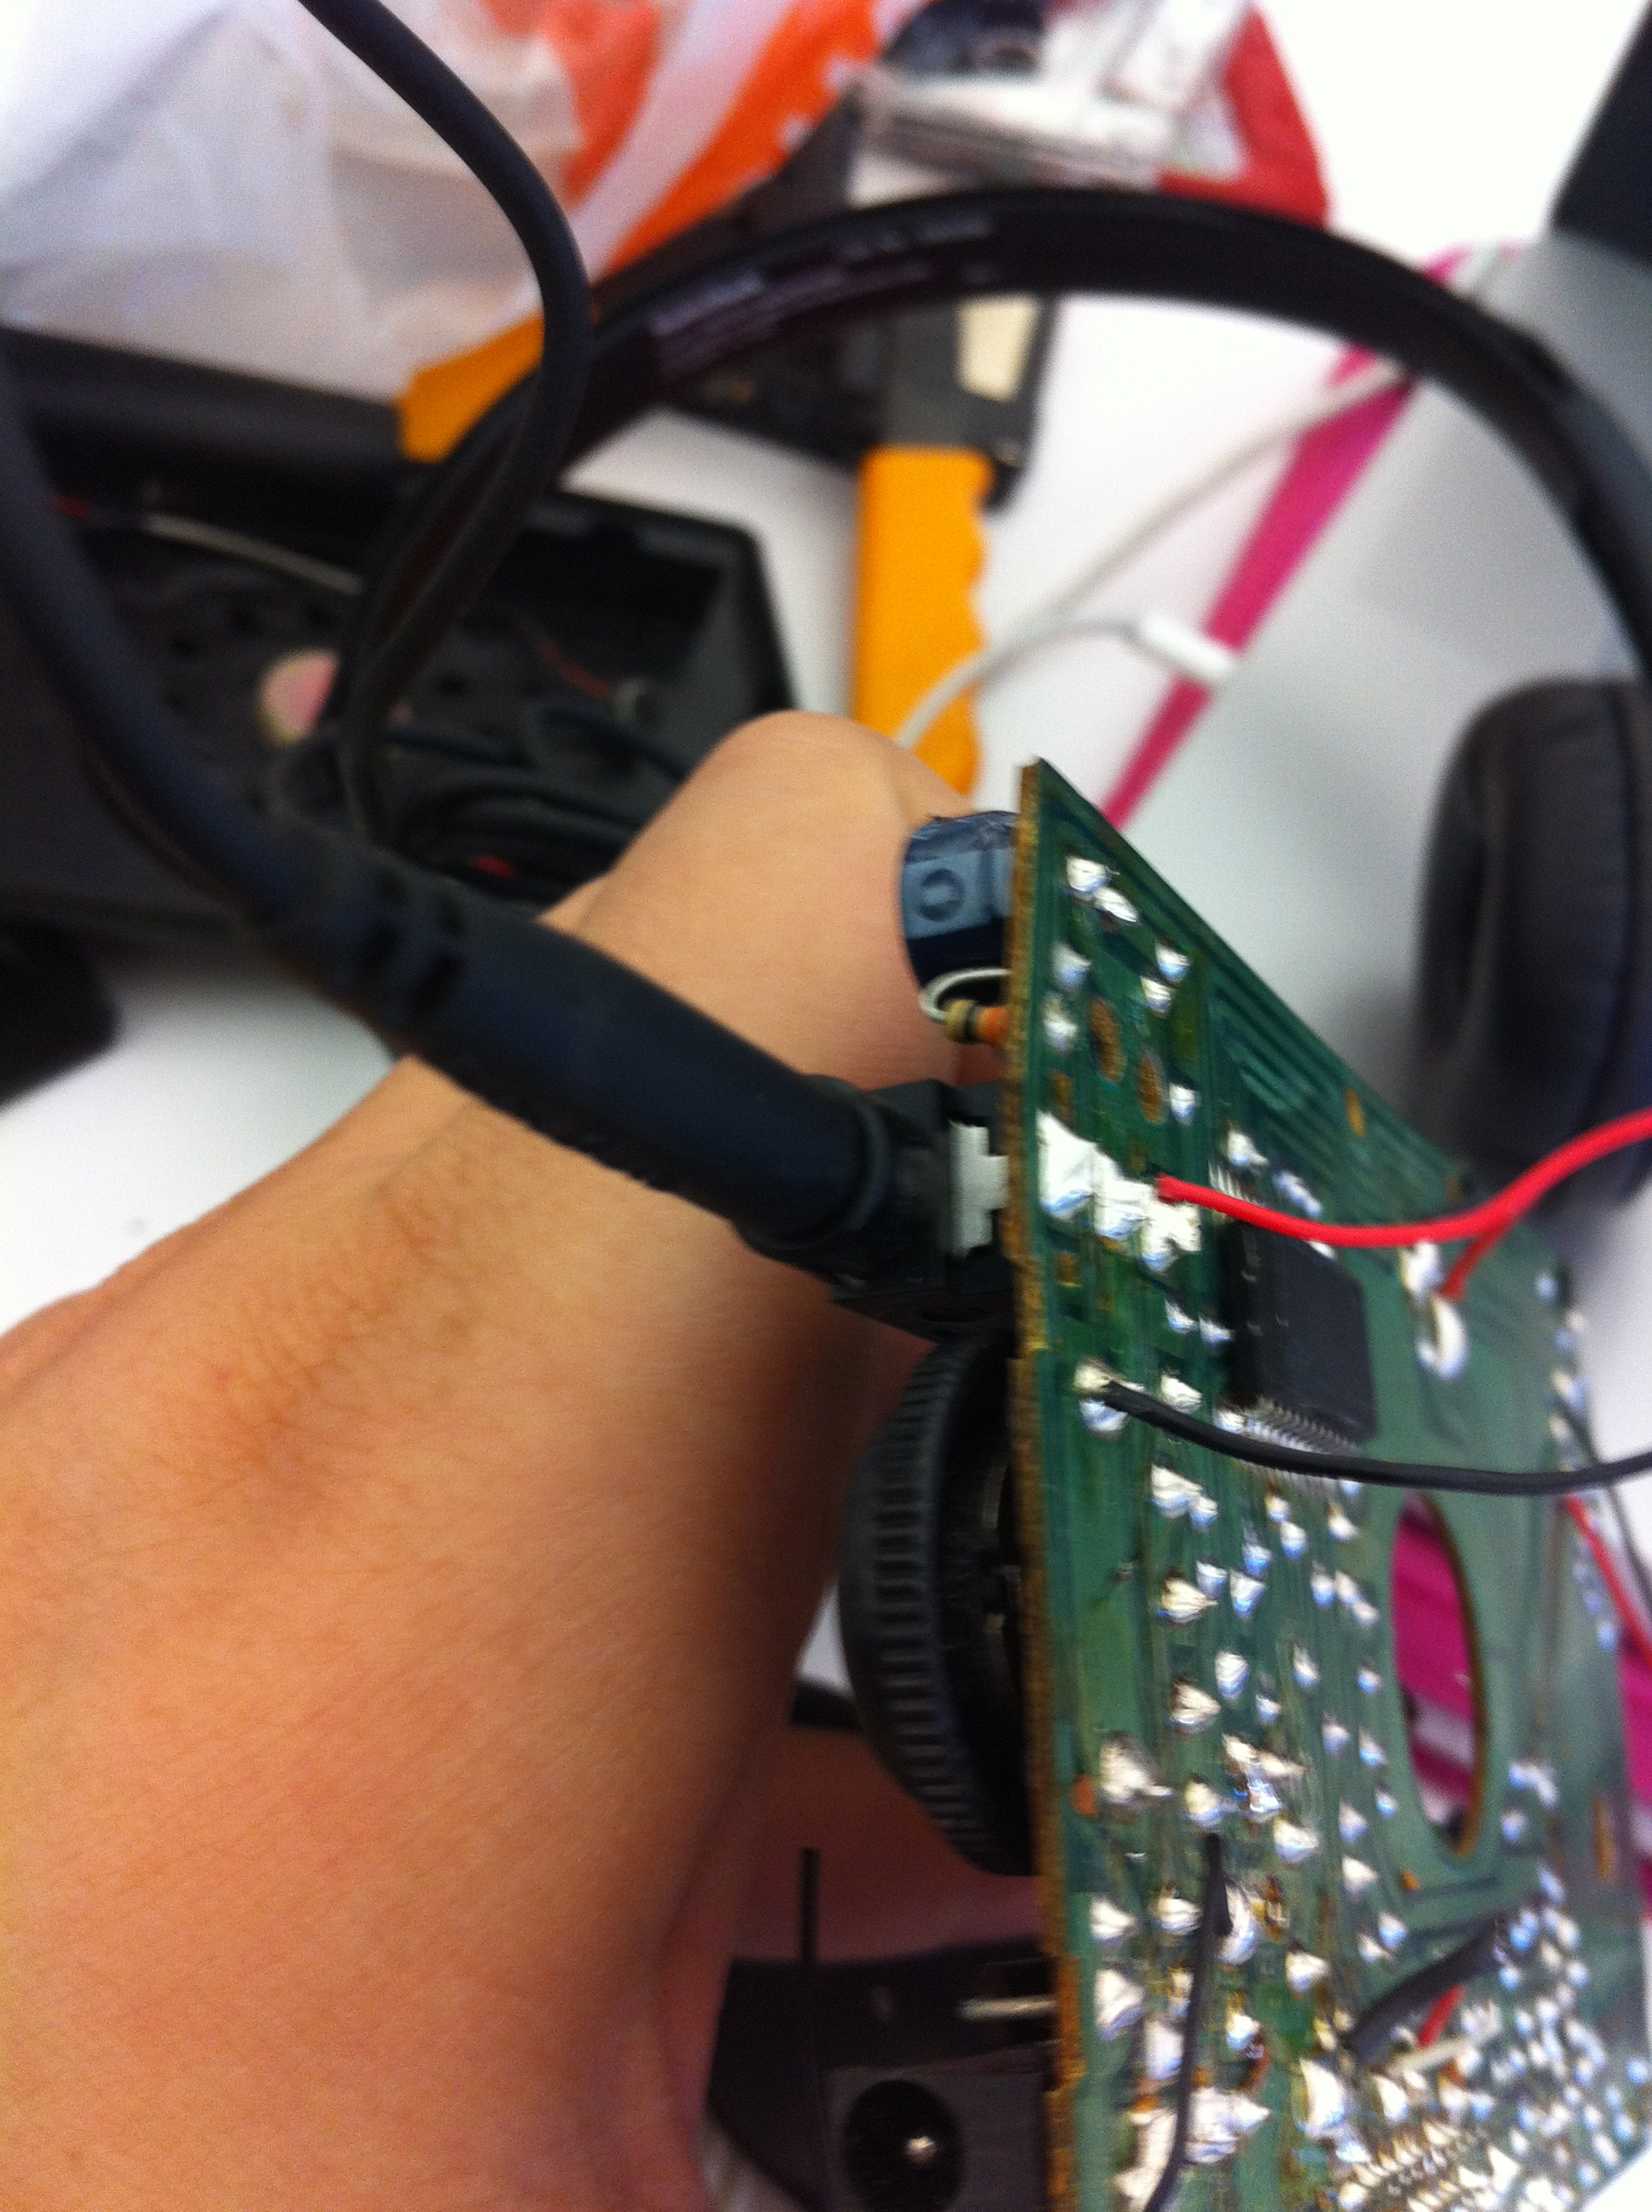
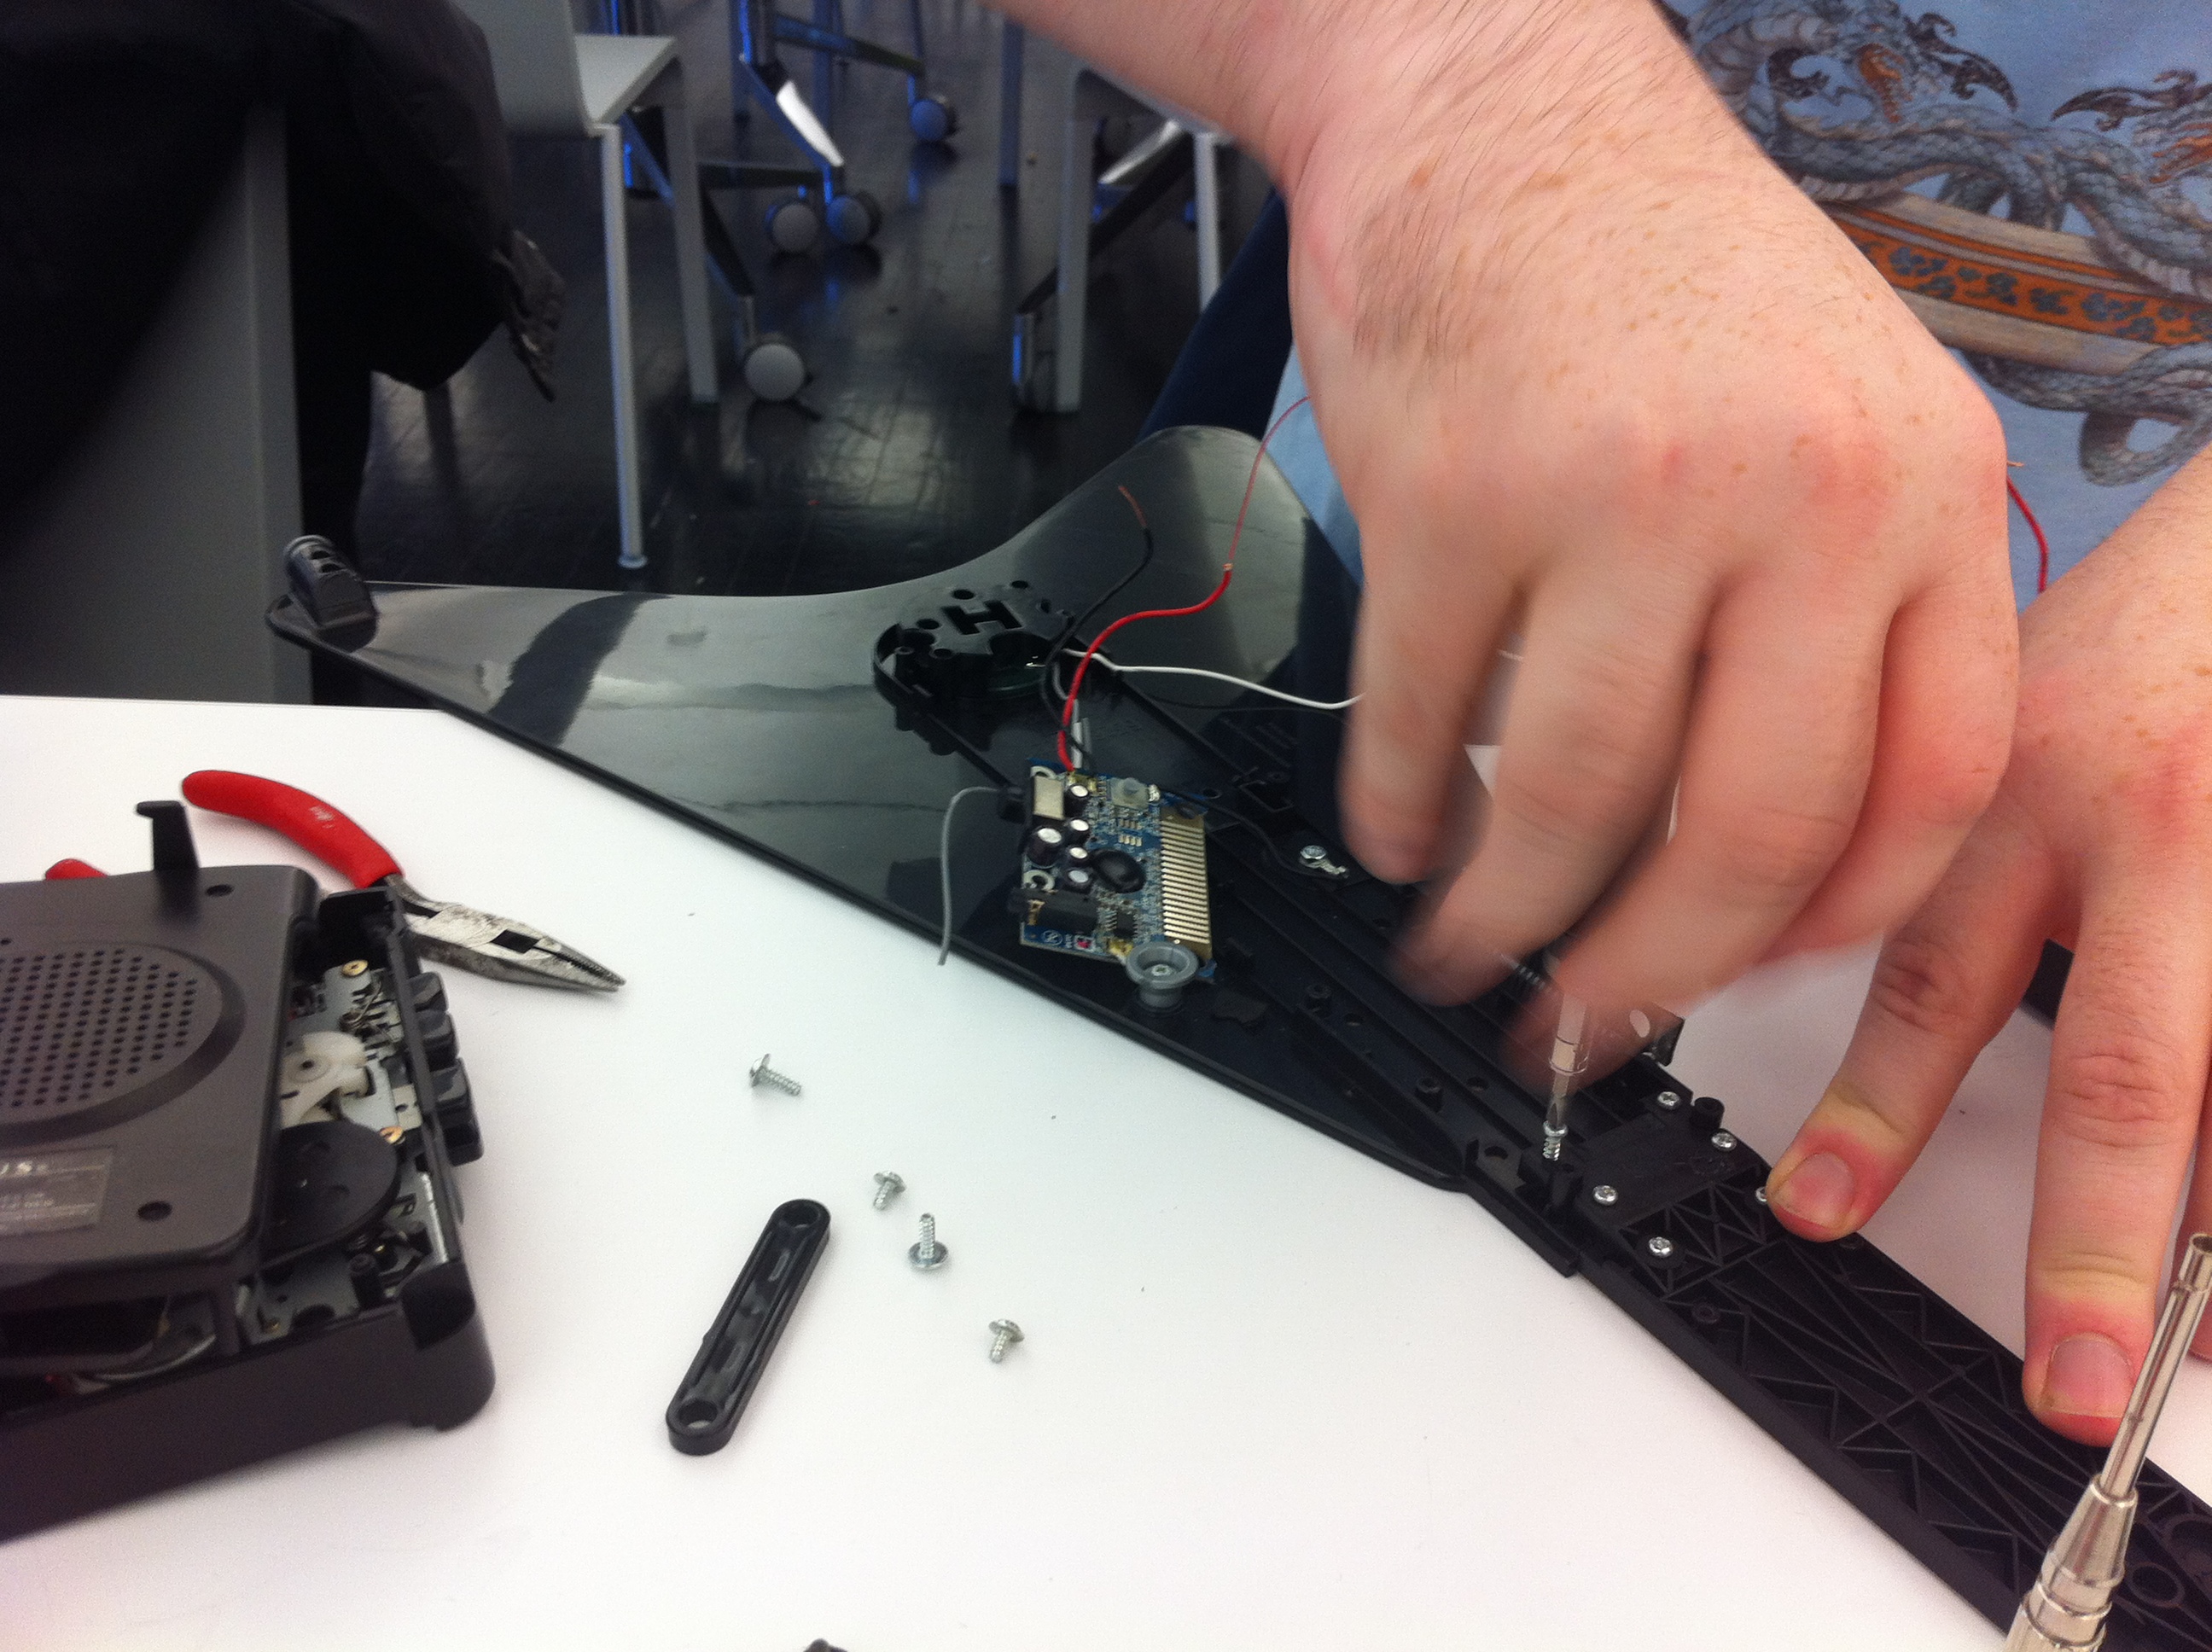
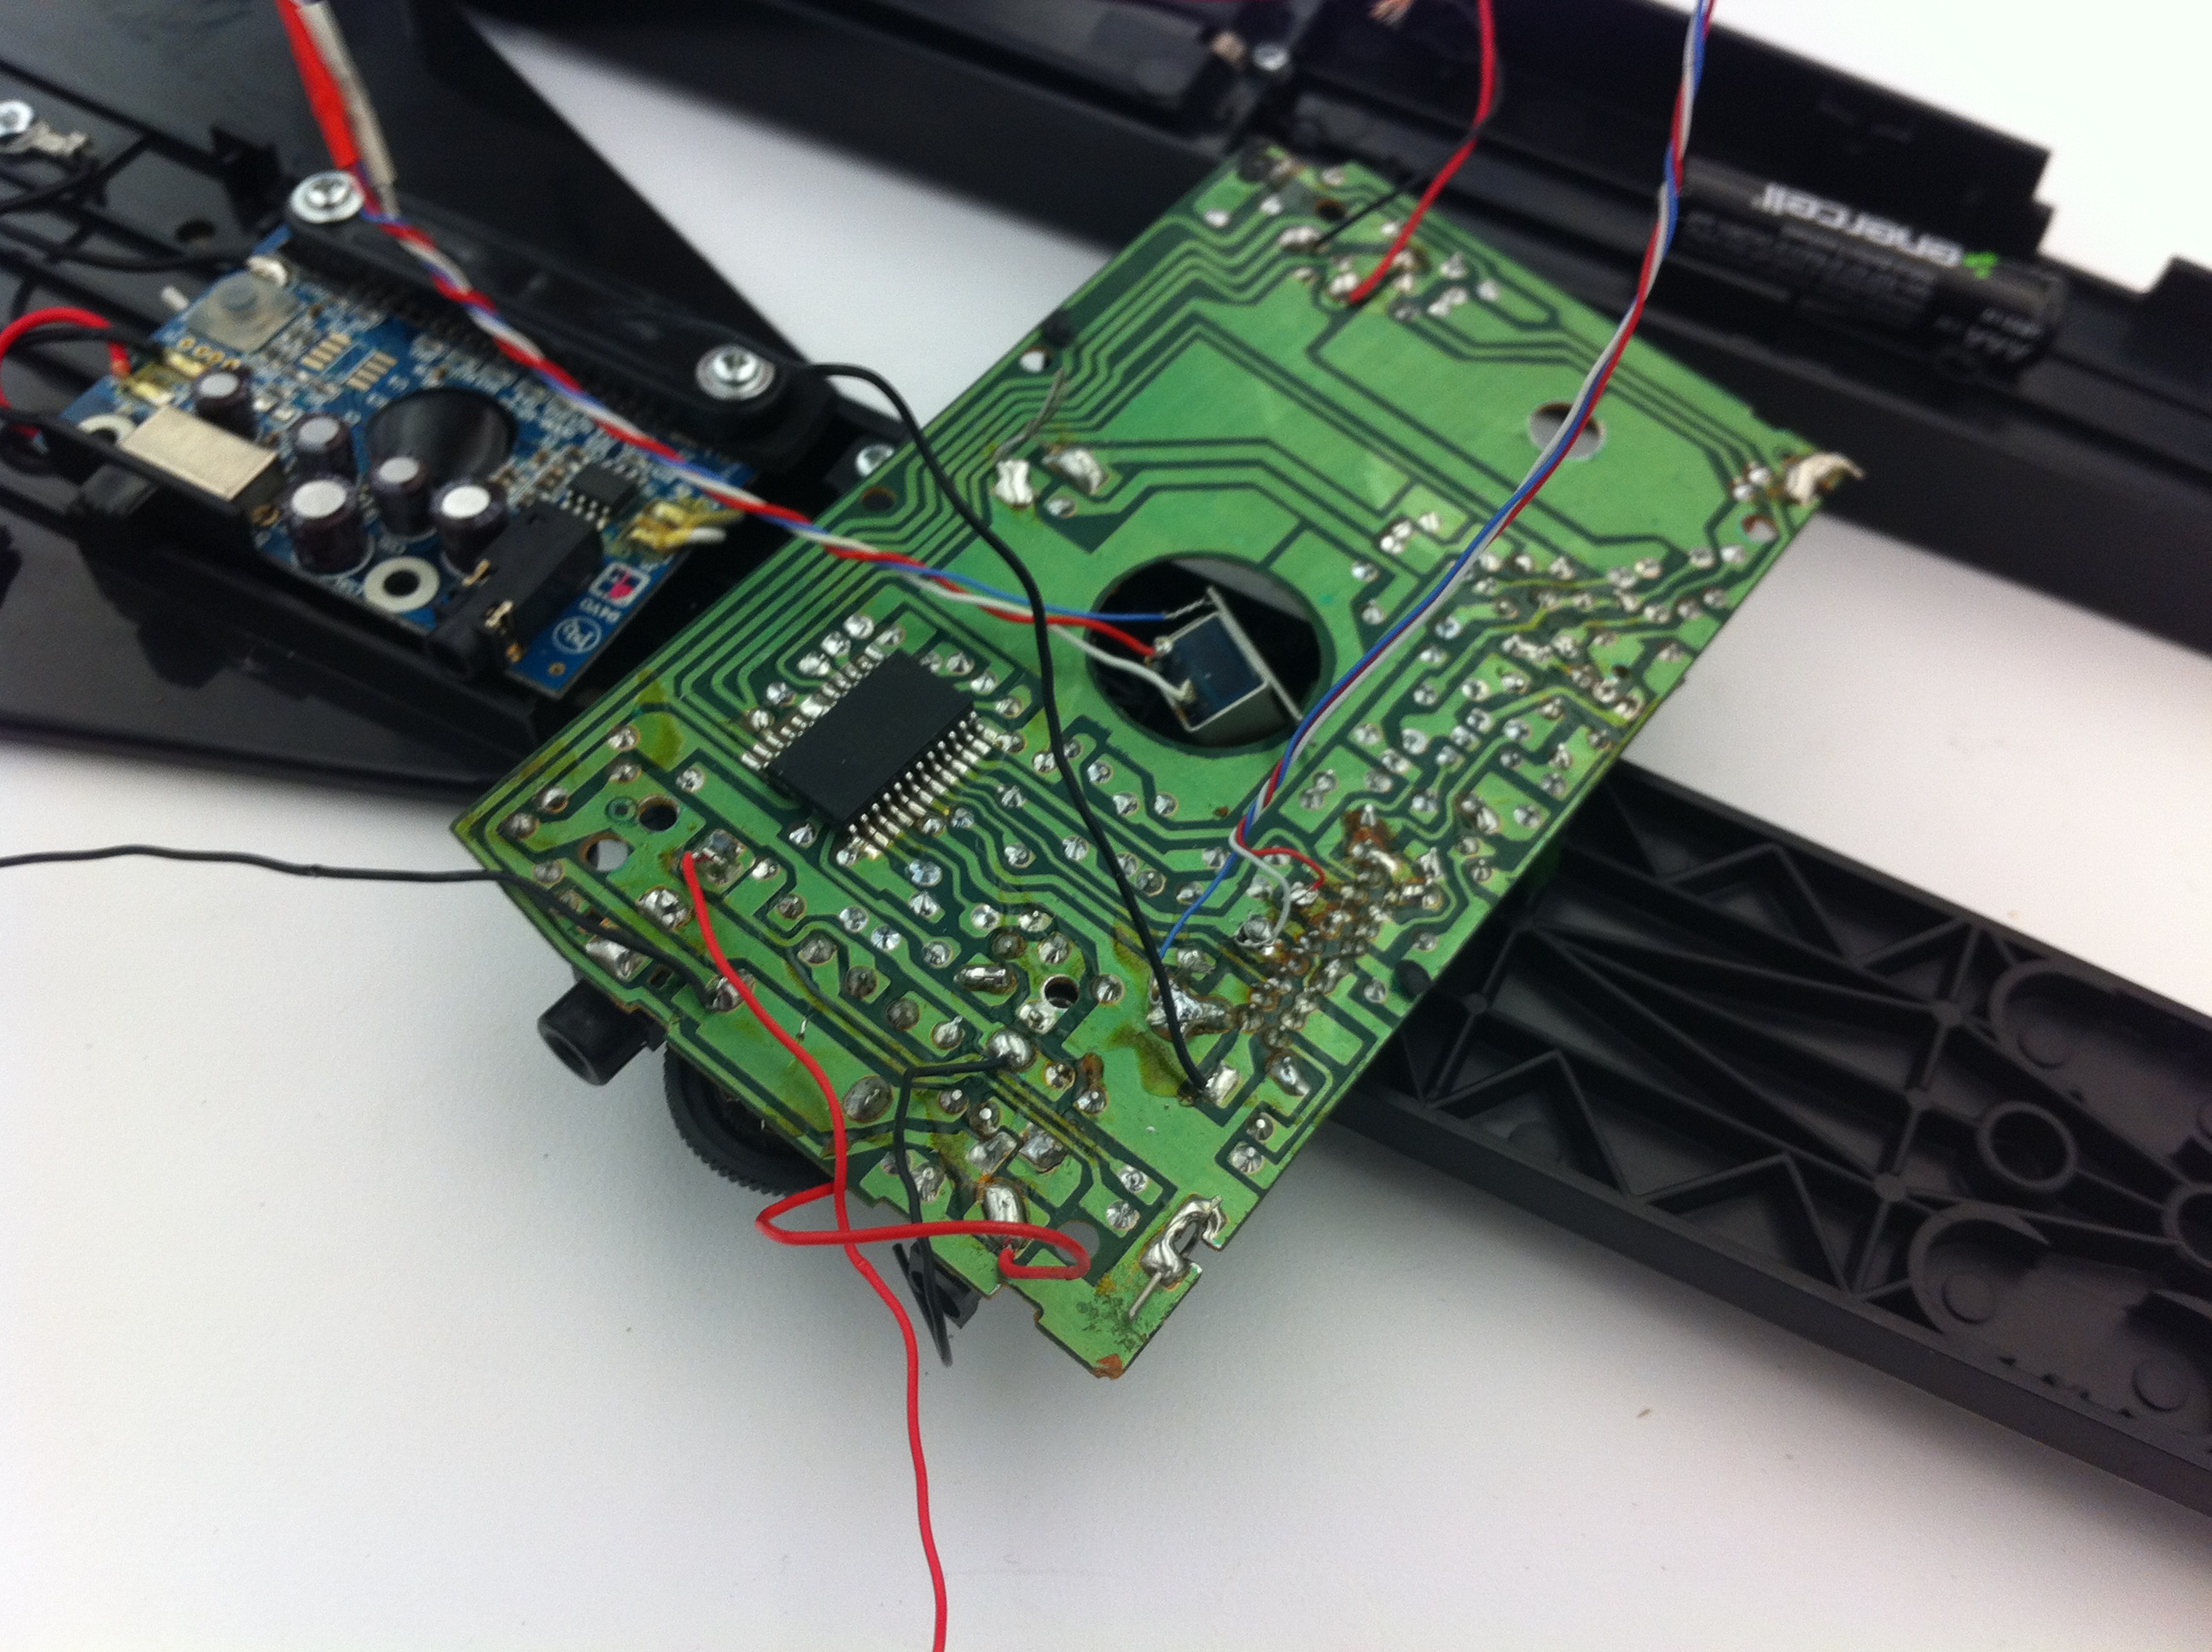
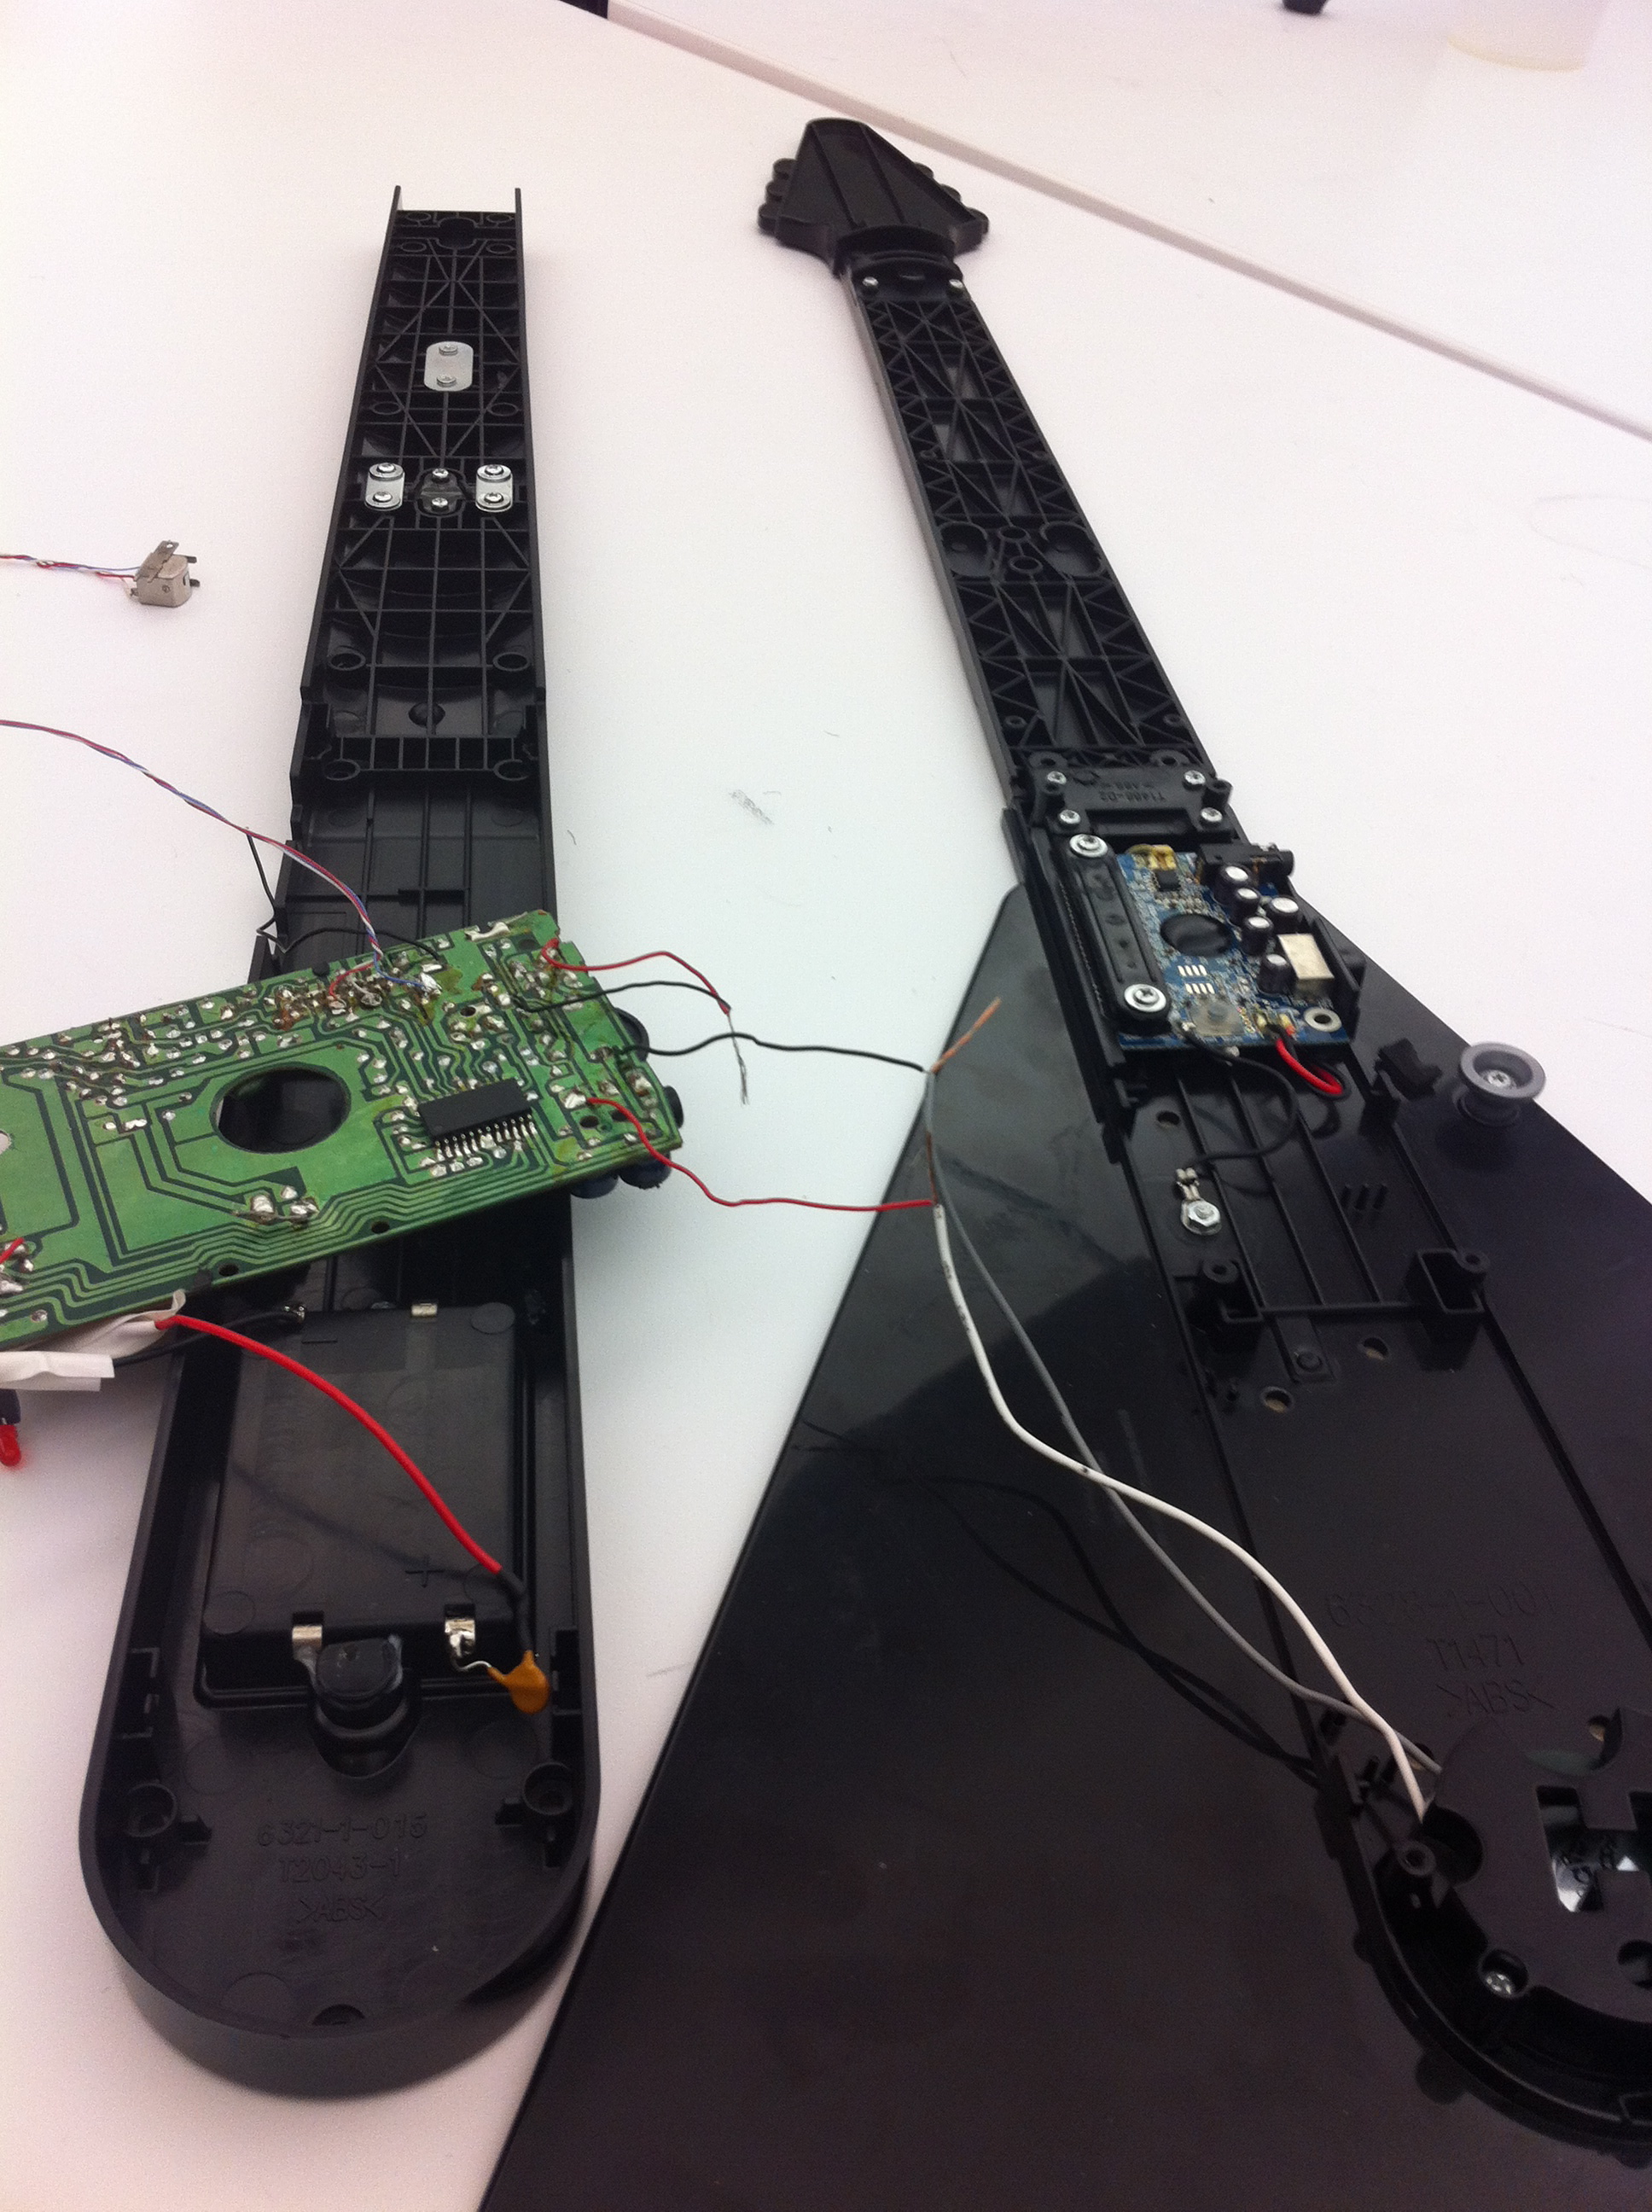
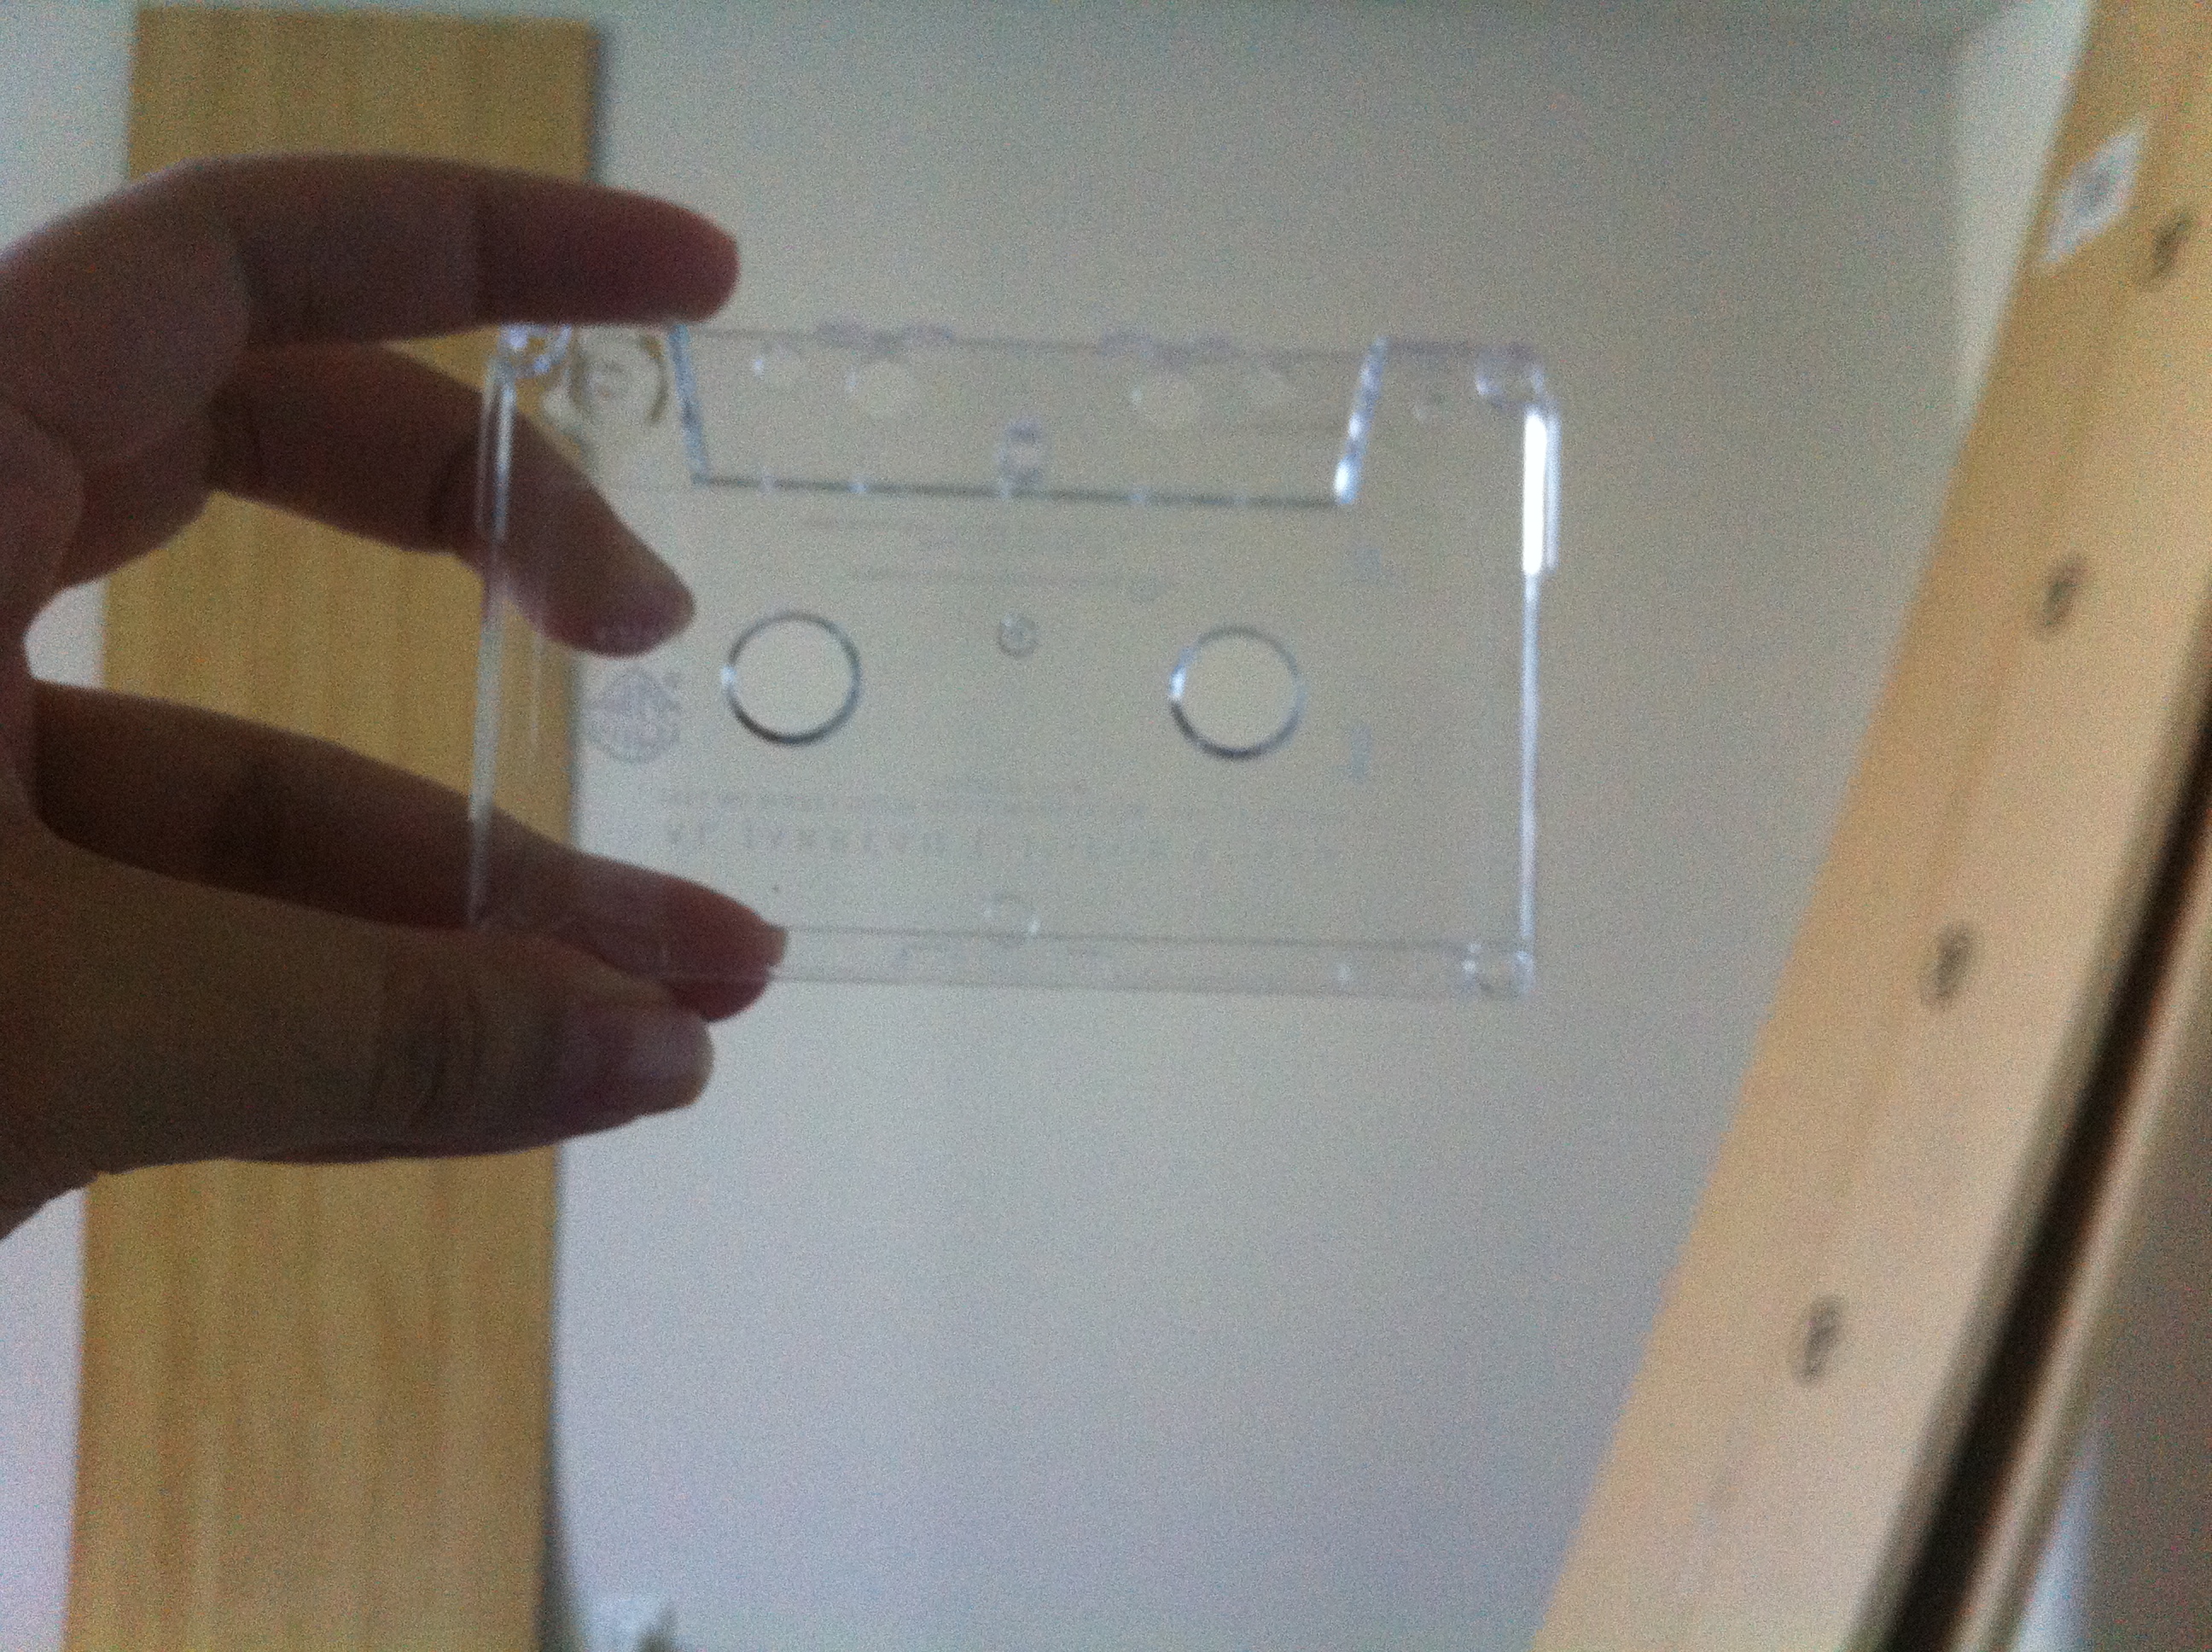
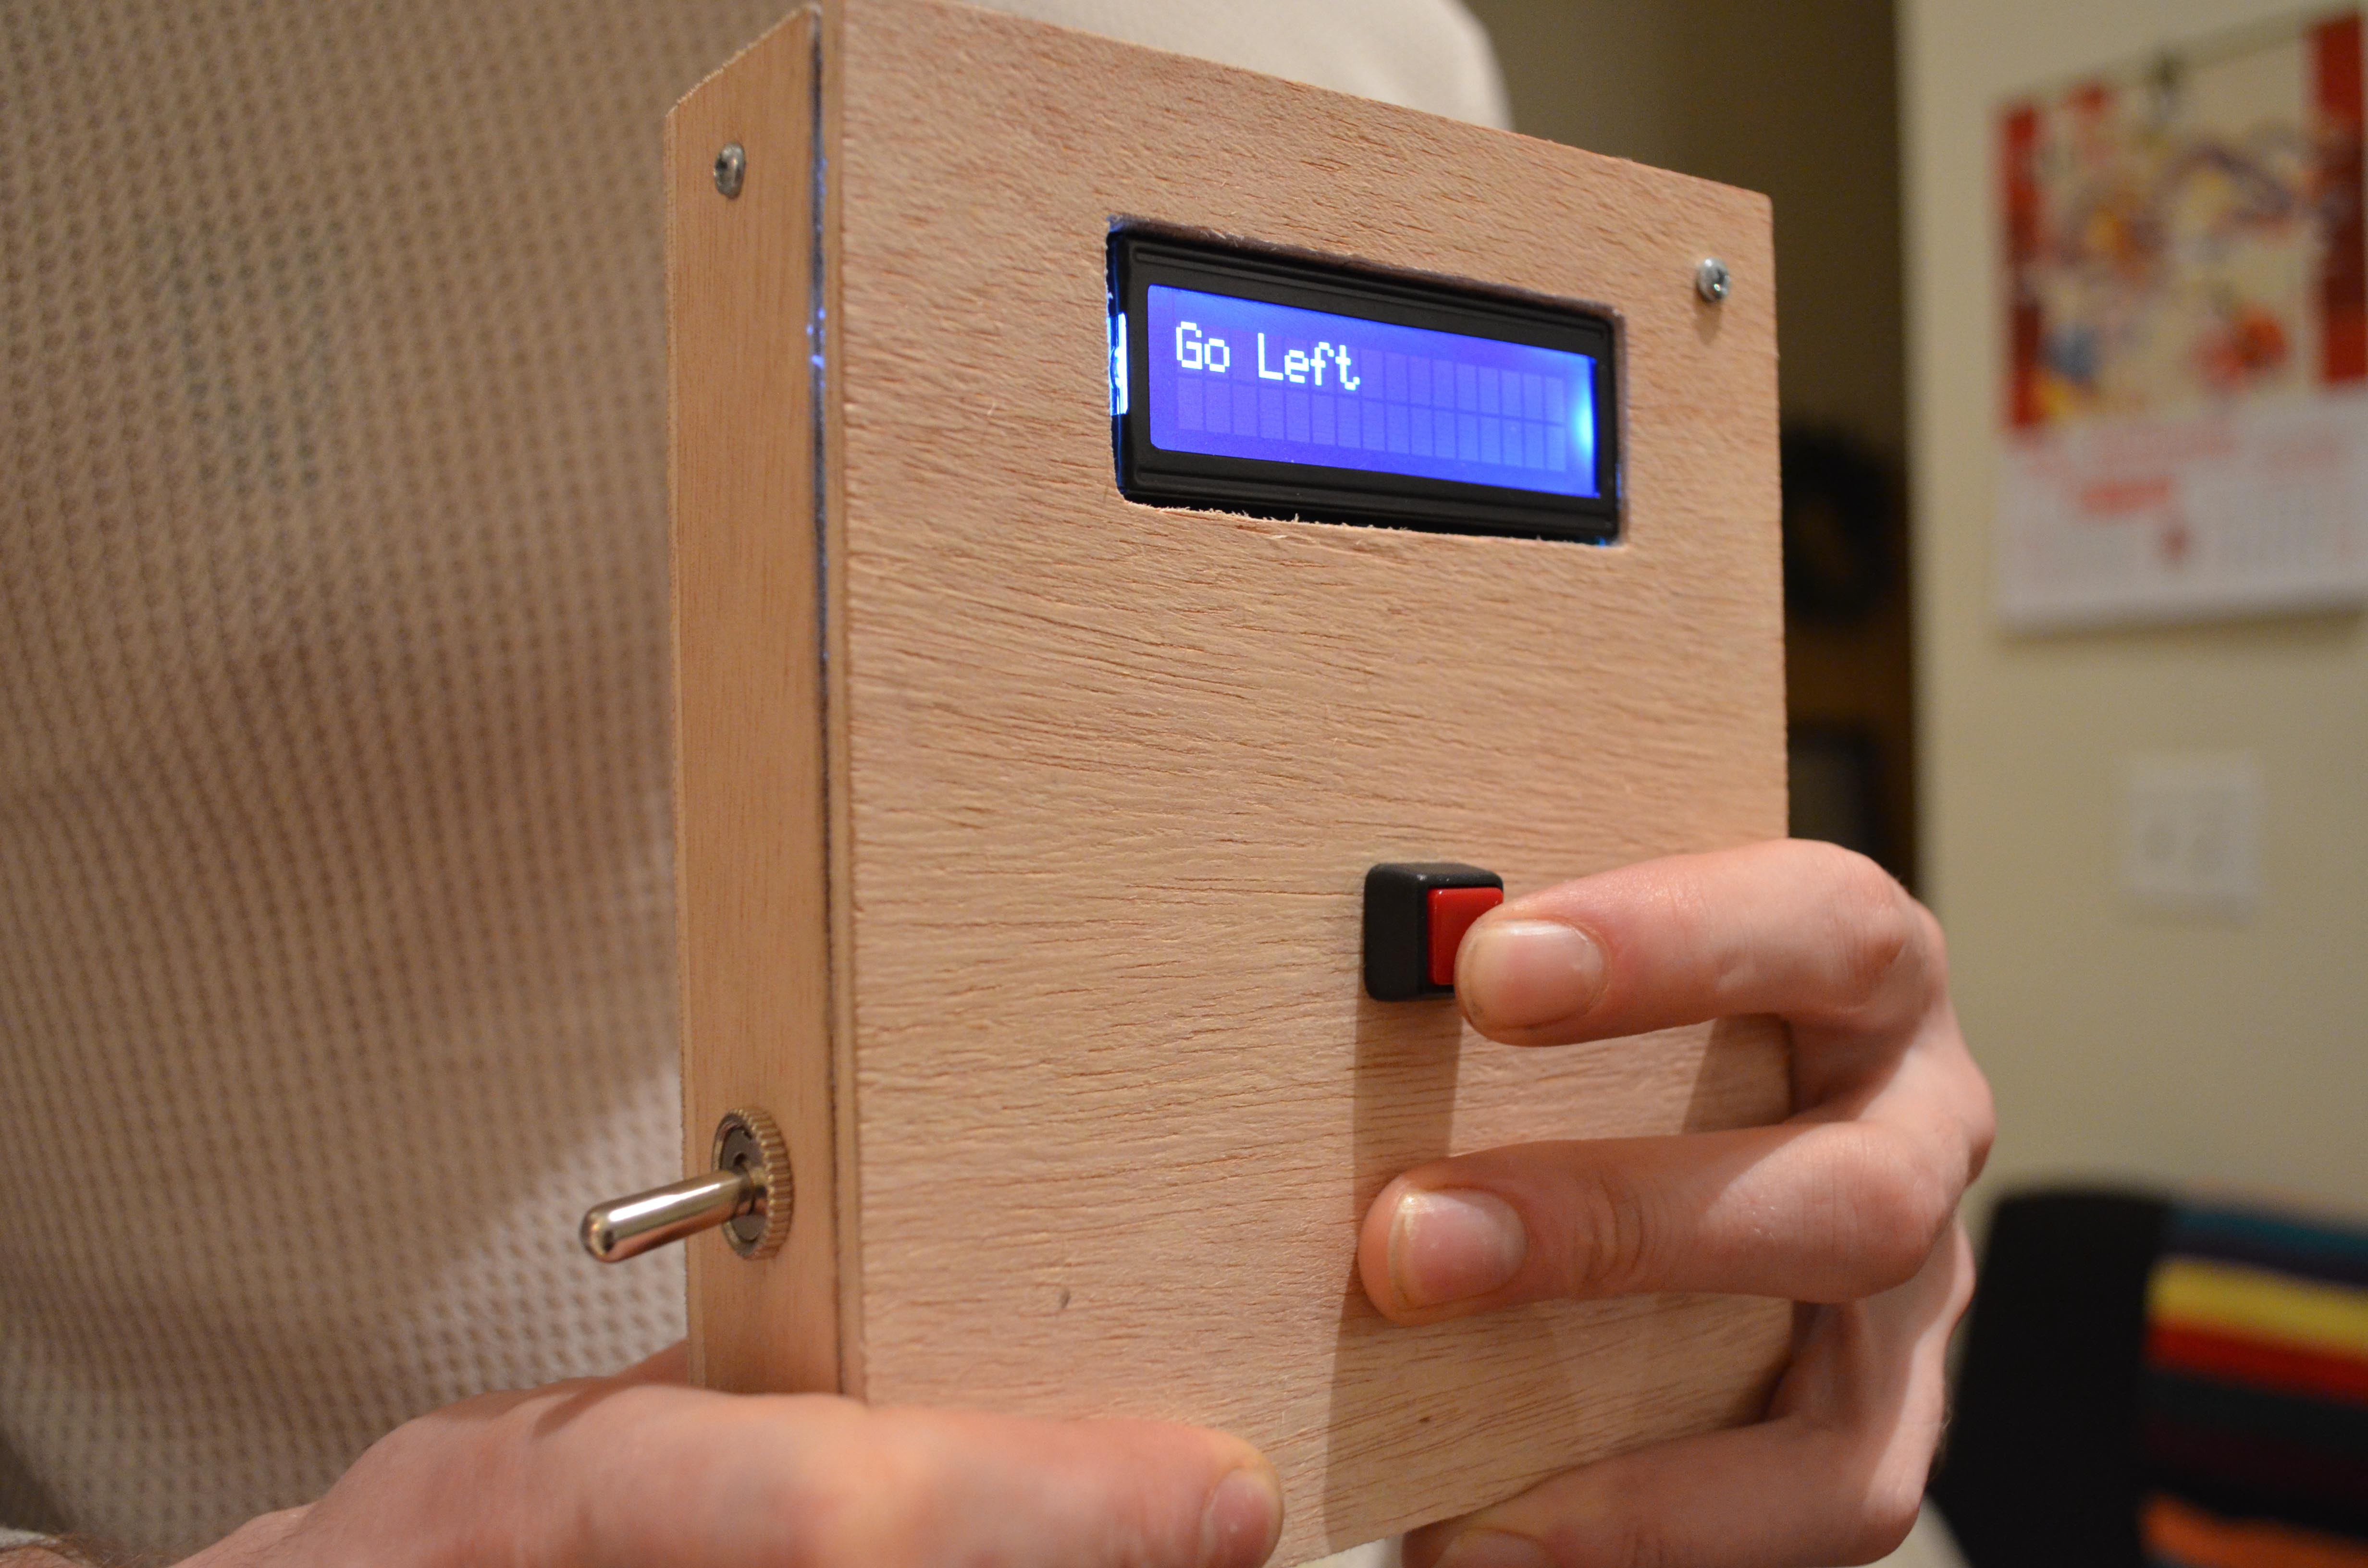
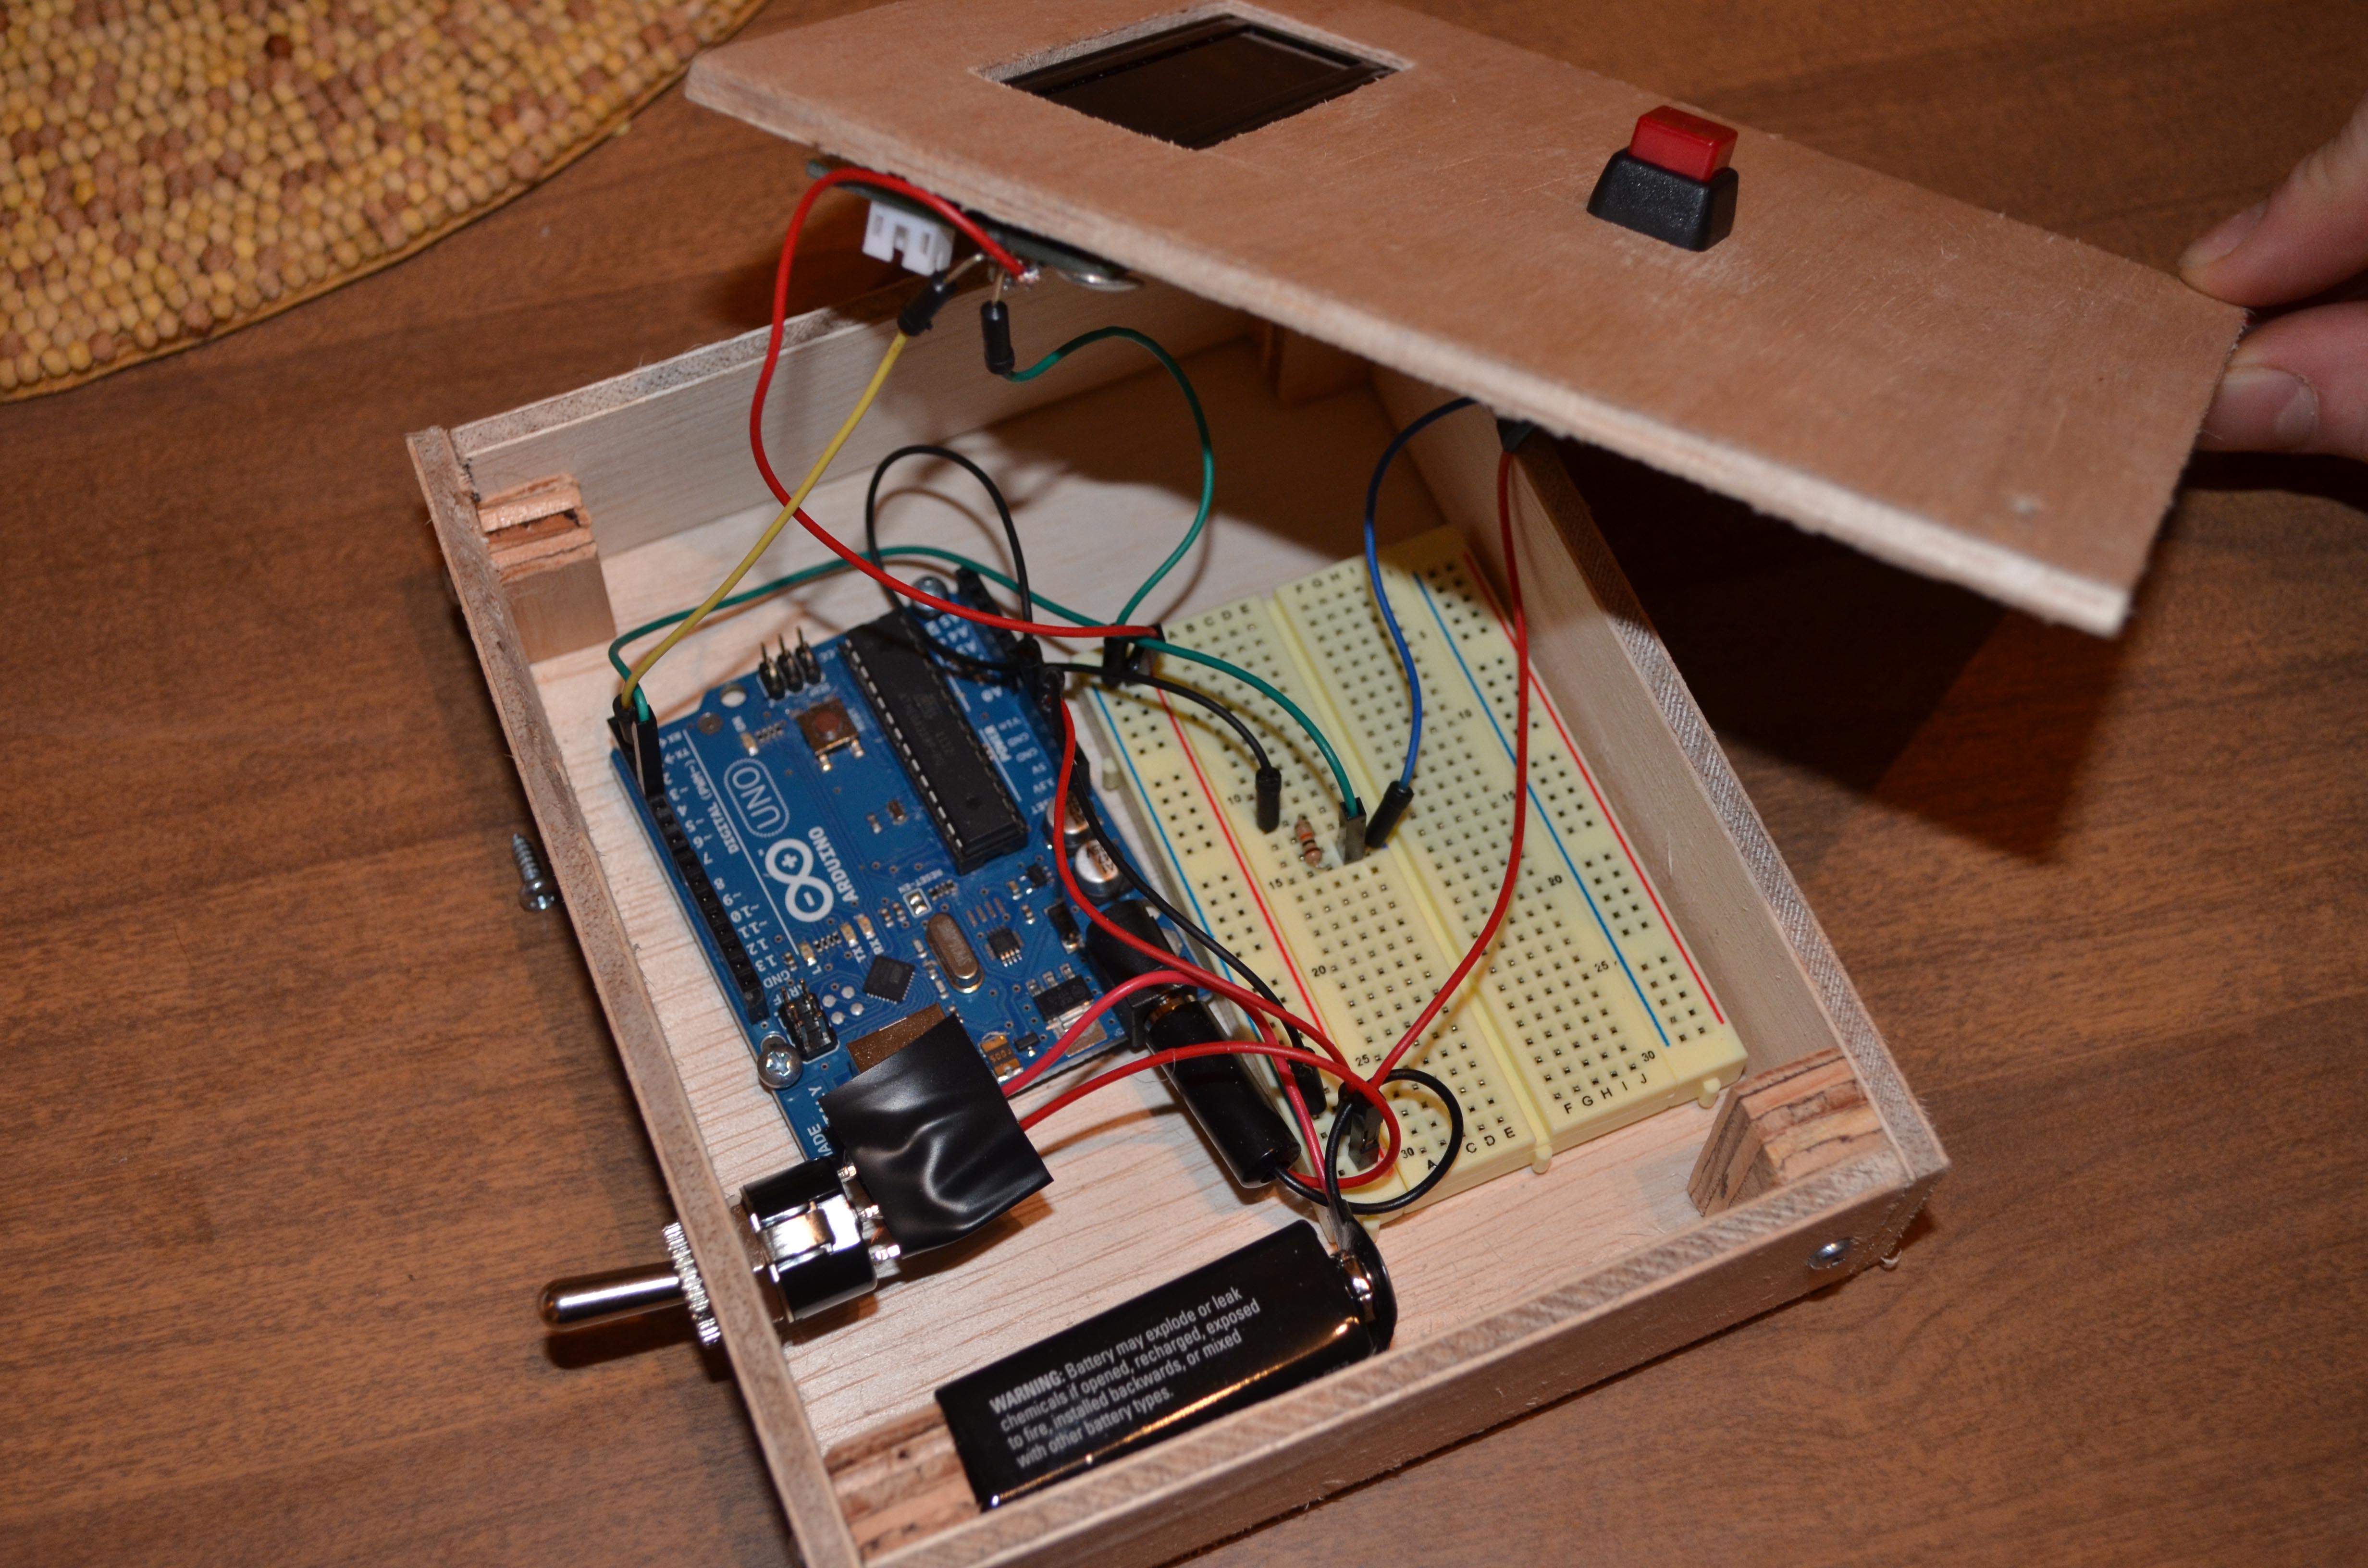
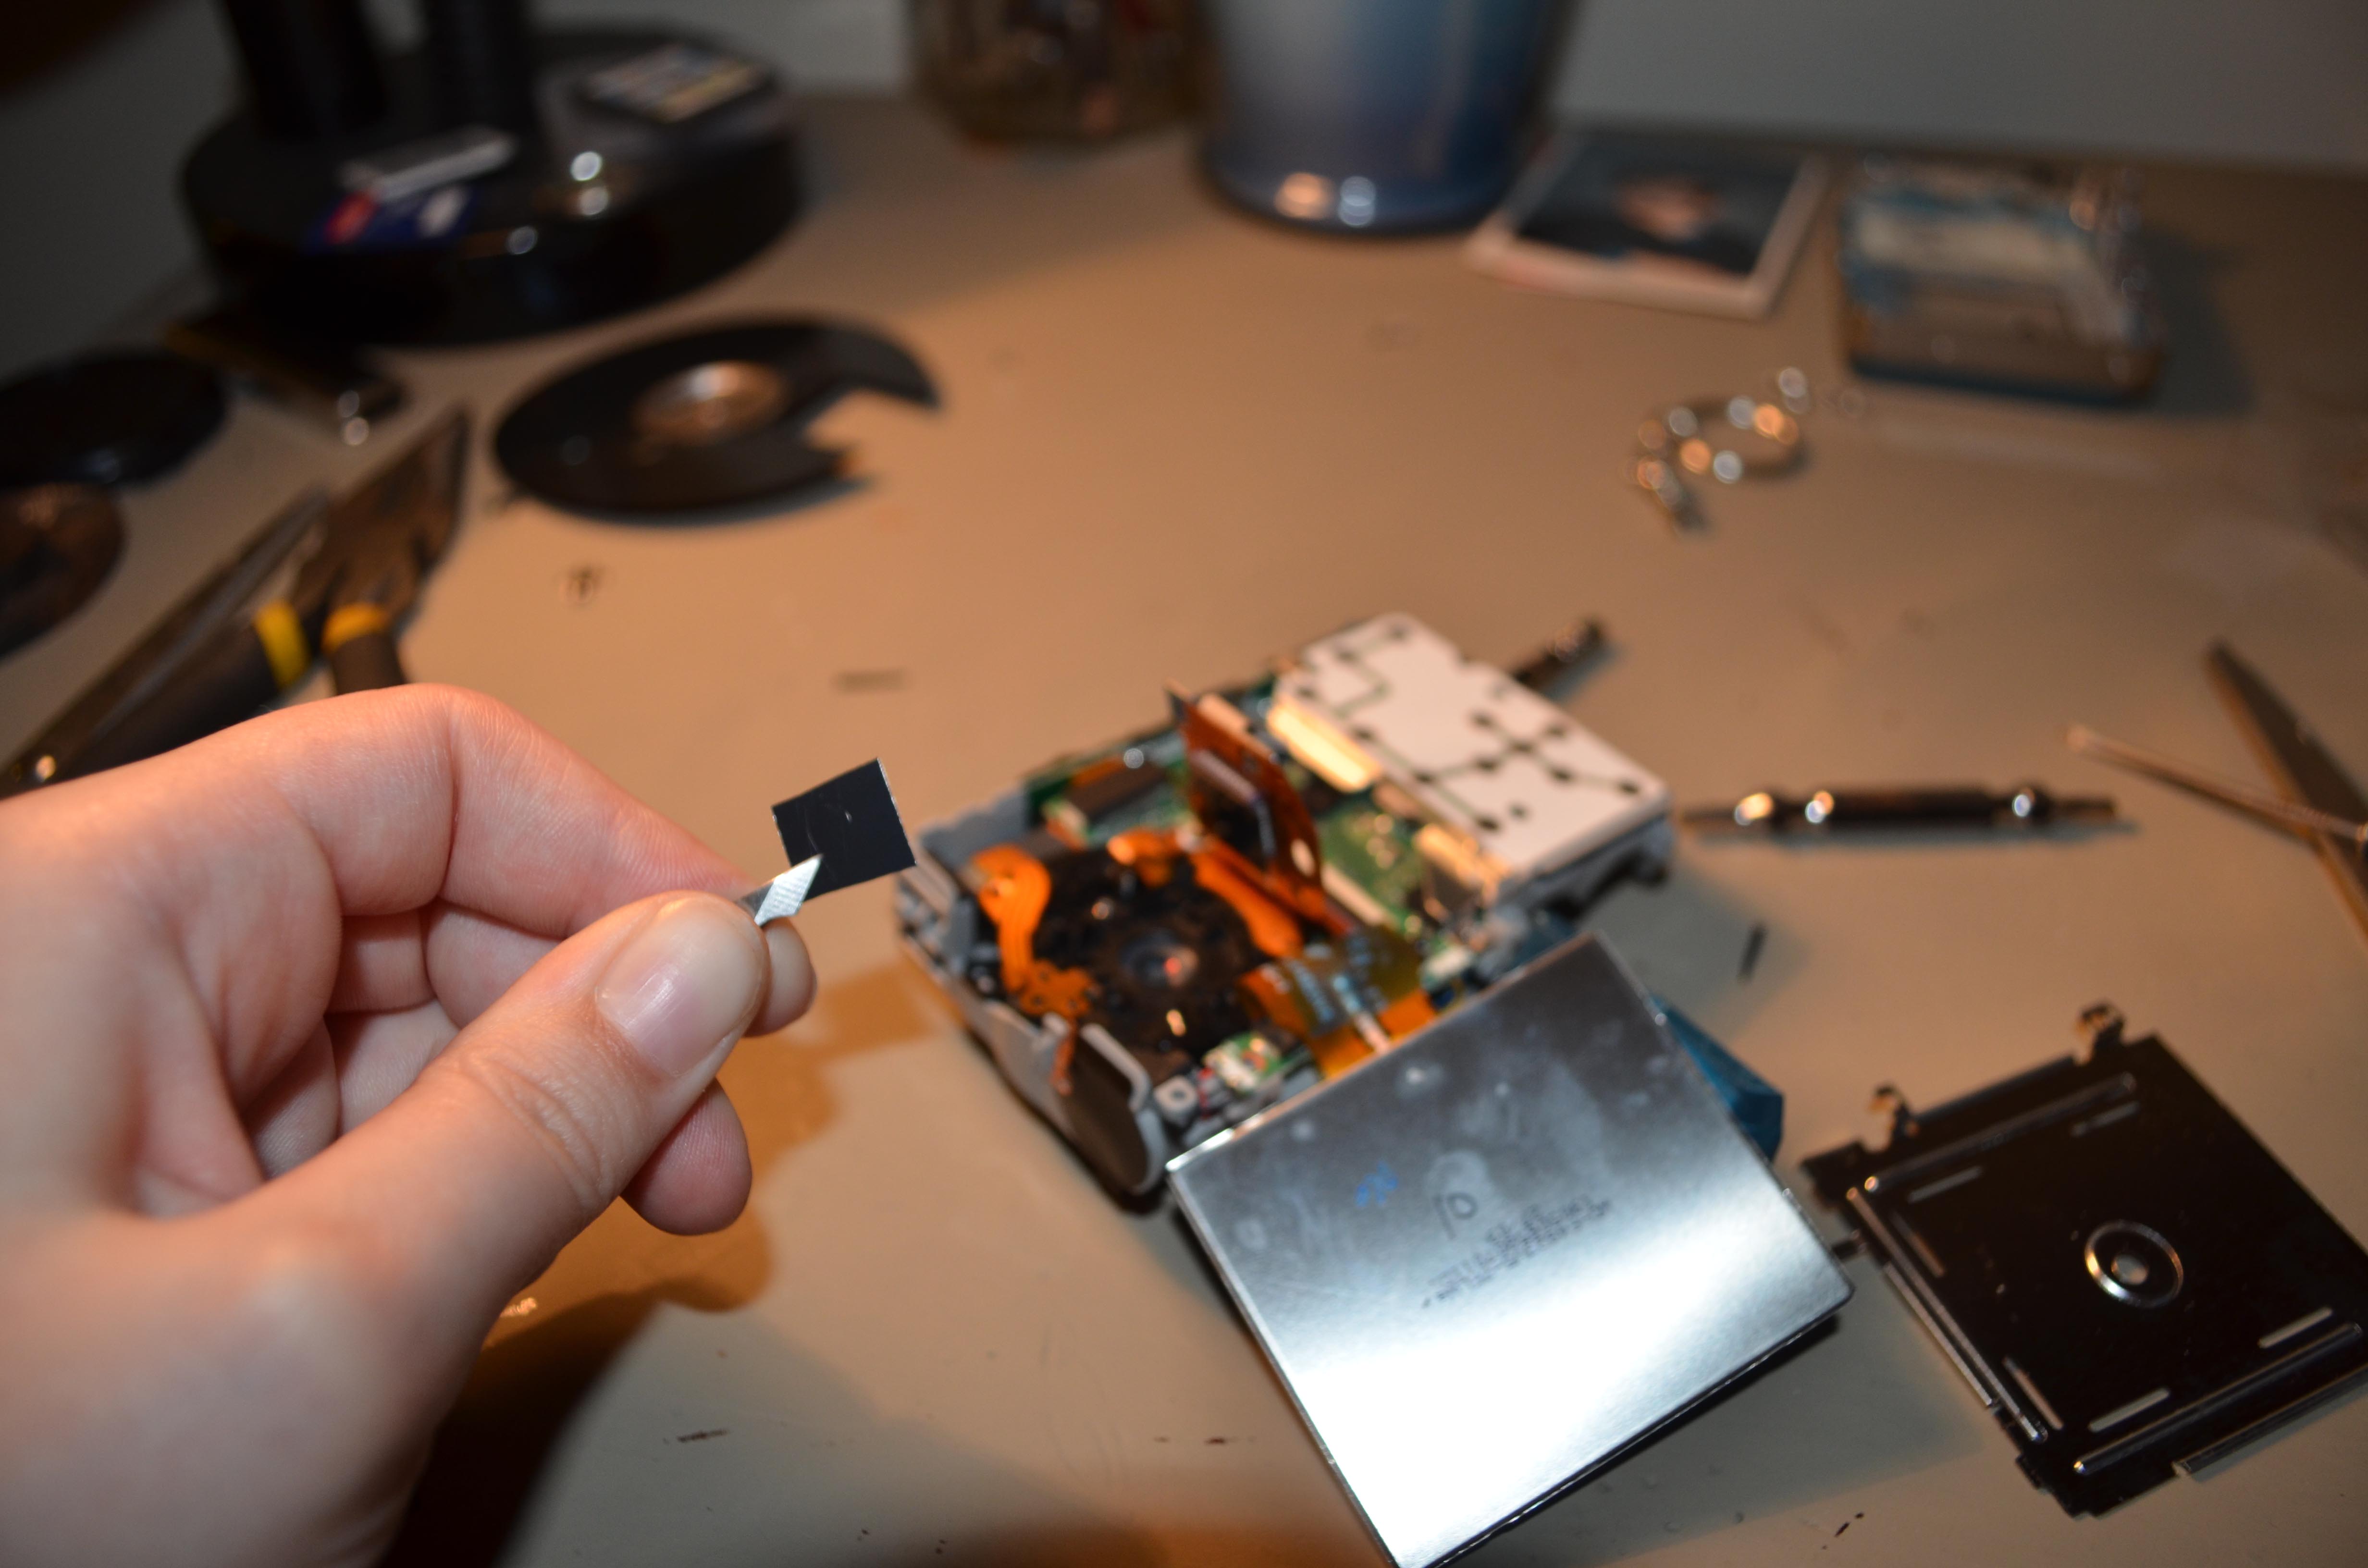
I began the project by outlining the physical elements I would need (a hand crank mechanism, rotary encoder, Arduino, and switches) and writing pseudo code for the software elements. I intentionally delayed creating the wooden housing until I was certain all the elements of the prototype would work together as planned. For the first several weeks my desk served as housing for the circuitry, allowing me to experiment quickly with various was of integrating the data coming from Arduino into openFrameworks. During this prototype phase I acquired the film winders of an authentic Moviola, the film editing machine whose namesake I reference in my own project. The weight and sturdiness of their metal construction served as a perfect tactile interface for my rotary encoder.

The Videola project opens the way to numerous avenues of exploration. The primary concern in further iterations is to contain all the functions of the machine into a succinct apparatus. A USB port built into the body of the machine would allow the user to swap ‘reels’ without handling the computer itself. A projector built into the workings of the machine would strengthen the connection of user and medium by removing the distraction of a physical monitor. Once these aesthetic concerns have been addressed, it will be possible to move to questions of function. Instead of the workflow ending in the physical world, perhaps the Videola could upload completed pieces to YouTube, Vimeo, or Facebook; retaining the mobility of video without sacrificing the physical connection in the edit process.

In every iteration it is my hope that users who experience working with the Videola will feel an emotional connection not only with the footage they are editing but also with the history of film editing itself. Future colleagues of mine may very soon have diplomas with “Video Studies,” inked on them, but it will be my goal to ensure that whatever medium we use can still be a passionate and beautiful representation of the many stories the future will have to tell.

Final Synopsis

The first project was the goldburg machine. I actually did not participate in the first project since I started to semester a little late, and had trouble meeting with the assigned group. I did like the final outcome, all of the machines worked together. The second project was the lost tech I converted a laser mouse into a “laser” mouse. The goal was to change the purpose of the device while maintaining its integrity. I re wired the laser mouse with the led circuit from an old flashlight, and a 3.3v power supply. the way It was rigged up caused it to drain its battery at all times. The third project was my favorite even though it was the most hectic. The facebook beeper would receive all of your updates, but through  strictly one way communication. it took a long time to locate a beeper, while i was looking i wanted to imitate the beeper through arduino. both of which were achieved.

3rd Project….I am obsessed with cassette tapes

After mulling over it for a few weeks, I am still obsessed w/cassette tapes. Here is fun link on cassette tape culture. It isn’t really related to something I want to do for this project, but I thought it was kind of cool.

So I finally decided on combining my obsession with cassette tapes with something more related to technology. I found a cool project called Signal to Noise that is a newer version in the realm of Nam June Paik. For my interpretation of these awesome works, I would like to make an analog tape playing guitar. Here are my materials:

Paper Jamz Guitar Style 10 (found for free on Craigslist)

Olympus CTR 112 Cassette Recorder (donated from my aunt)

All 4 One Single of “I Swear” found at Goodwill. There is also another tape from the 69 Boyz I had as my backup plan, this was also found at Goodwill.

The deconstruction & confusion begins:


I wasn’t originally going to take apart the guitar, I was just going to make it a base for my cassette tape. But once I opened it up, I couldn’t resist trying to make the entire functionality of the project in the guitar. Alas, my electronic skills were not up to par. Larry kindly intervened.

And after much back and forth, soldering & connecting…

still nothing worked…

BOOOOOOOOO!

I need another cassette player so I can try again. I think I took apart too much of the recorder initially to know enough of what was going on anymore, hence Larry’s intervention. But I might’ve destroyed it too much to be salvaged. I do plan on getting it working, it just might not happen before the semester is over.

Dead Tech. Second Attempt After the Untimely Passing of my Apple Remote

So in my last post for this project, I left off with the intentions of turning one of my old retro controllers into an Apple remote. UPDATE. Terese’s Apple Remote Found Slain By Roommate in Reckless Movement of Furniture and Outright Clumsiness. Now that my poor remote is no more, and it is not within my budget to purchase another, I have been forced to move down another path.

This other path has led me to cassette tapes. They are cheap and I found lots of them in thrift stores around the city. I have decided to turn these cassettes into ID cases, and not the ID cases they are typically turned into – gutted on the inside with a rubber band around it. I want to make these into functional pieces that are connected and can open and close without disassembling the entire thing. The only materials I will be using are lots of cassette tapes (the kind that come with screws so that I will be able to take them apart easily). At the last minute I decided to deconstruct the radio as a part of the accessories so I could keep my radio/cassette/music theme going.

Documented below is the deconstruction of a cassette tape (repeated several times).


Then the decoration process.


I’d attempted to use these hinges first, but none of them fit, which is why I opted for the fasteners shown above.

Now for the complete deconstruction of the radio.


And I also found a bag to be the casing for the radio.

End Result.

Lost & Found Tech. Analog Tape Playing Guitar (project 3) Final Documentation

For my third project, I also worked alone. In this project was inspired by the genius of Nam June Paik and (then later) the Signal to Noise installation. In my rendition, as I continued with my cassette tape obsession, I tried to create an Analog Tape Playing Guitar. For my materials, I had (again) cassette tapes, a walk man, and a children’s toy guitar. The guitar was symbolic only in the sense that I was trying to create music. The song I wanted played (or at least some distorted version of it) was “I Swear” from the R&B group All-4-One. I wanted to line the flat side of the where the strings are drawn on with cassette tape. I had separated the tape player head from the encasing. I actually deconstructed the walk man too much because and was unable to retrace my steps when I could not get anything to be played. I connected the board of the walk man to the board of the radio, the speaker wires from the walk man’s board to the speaker on the guitar, and so on and so on. At some point while I was working on this and getting nowhere, Larry intervened and offered me some assistance. Despite his efforts, the tape head would not play anything! So in the end, my project did not work the way I wanted it to, although theoretically it should have. I really like the idea of an Analog Tape Playing Guitar, so I plan to continue working on this. I am looking to acquire another walk man/tape deck so that I can start over and better see what I did not the first time. And if that does not work, I will make an audio circuit as another solution.

Dead Tech (project 2). Final Documentation

For the second project, Dead Tech, I worked alone. After going through various phases with this assignment, this is my final result, and where my obsession with cassette tapes began. From destroyed Apple remote, (now) seemingly useless retro controllers, and budget constraints, I restarted back to the radio that I was so in love with I didn’t even want to take it apart. For some inexpensive modifications, I decided to use the dead tech of the cassette tape. There is not as much technology involved as I would like, but there is a cohesive theme present. I have repurposed several cassette tapes to be ID cases (and decorated them for kicks) and turned my beloved radio into a decorative carrying case for my ID cases. A case with in a case if you will.
To create the cases, I gutted the insides of the cassettes by unscrewing them, emptying their contents, and using pliers to remove any interior plastic that would prevent an ID from sitting inside. Because small hinges were hard to come by and time was not on my side, instead I used fasteners (found in a craft store) and a glue gun to hold the cassette casing together. Aside from decorating, the next important step was to create closures for the cases. Using fasteners, a necklace chain, and clasps, I fashioned unique closures for each case. They are not as easy to see in this picture, but the details of how they look are documented in previous blog posts.
Although this is not where I intended to be with this project, I’m glad that I was able to turn it around into something despite the obstacles.

Dead Tech. Finds: Mini Stereo (Boom) & Retro Controllers

So for the second project (dead tech), I found a few cool items: an old radio


and two retro controllers.


I am not sure how these different items would function together, and since I am not electronically savvy this became a real concern for me. Through internet research I was able to find some information on these items, but nothing that was particularly useful. The mini radio I found was a Realistic AM/FM Radio Model No. 12-722, made by Radio Shack in 2004. The only info I was able to find was an Owner’s Manual, but I still wasn’t sure how I was going to use it. Despite all my internet searching, there wasn’t much info for the controllers. But I’ve heard that all controllers pretty much work the same, it’s just a matter of running tests to see which buttons are programed where. Nevertheless, I started taking things apart to see where they would take me.


After looking for some inspiration, I decided I would turn one of these controllers into a controller for my  Apple remote.

I located directions on how to do this via instructables.com. Stay tuned.

Final Documentation


Anti-GPS 1

Anti-GPS 2

Above are images from  my final project concerning lost and found tech. It is an Anti-GPS designed to get you lost. In an environment where we rely upon technology to get us to where we are going as quickly as possible we often are not aware of our surroundings and lose touch with the spontaneity and beauty of the world around us. This project is designed to force you to take the time to see the world by getting you lost. The device gives you one of four random commands each time you press the button. At each crosswalk you press the button and go in the direction the device tells you.

Night-Light 1

Camera Night-Light 2

Infrared Cam 1
These two images are about dead tech. I turned an old film camera into a night light by gutting the inside and installing a lightbulb.

Infrared Cam 2

The last two images are of the project about dead tech, it shows the construction of an infrared camera. By inserting a portion of a floppy disc (dead tech) into the mechanisms of a digital camera I created a filter that forces the camera to capture only infrared light. The images show the construction and and an example of the image the camera took.

Thanks everyone for a great semester! I really enjoyed the class. As a photo grad it was really refreshing and fun to work with a new medium, hope you all have a good break, happy holidays!

Devon Dill


[Lost&FoundTech] Cee Dhe Music Box

The project was started from the notion about souvenir and how it is hard to purchase the real New York souvenir. But I found that creating such an emotional object is not easy. However, I found that almost all of the souvenirs have patterns of mimicking the landmark/ the experience into small objects.

So after I got this CD Player, I think of the experience of traveling in this city using MTA Subway. And how unique the music experience in this transportation is. How the time goes by so fast when there is a good music around and how it is so slow in the silence moments. So I tried to recreate that kind of experience into this artifact and gave it different meaning.

For the purpose of reinterpreting the meaning of musical artifact, repurposing cd player after it was found drowning under the tide of digital music innovations, I tried to mimic the interaction of mechanical music box. These artifacts, CD player and music box, are both lost technologies from different times.